Hi friends! So, this may be one of my favorite projects to date! I have always had a thing for beaded chandeliers & pom poms and when the two collide…you get something pretty fabulous. Am I right??!?!! I was super excited to work on my August Project with JOANN to make this happen. So today I am going to walk you through the steps to make your own DIY Wood Bead Pom Pom Chandelier.
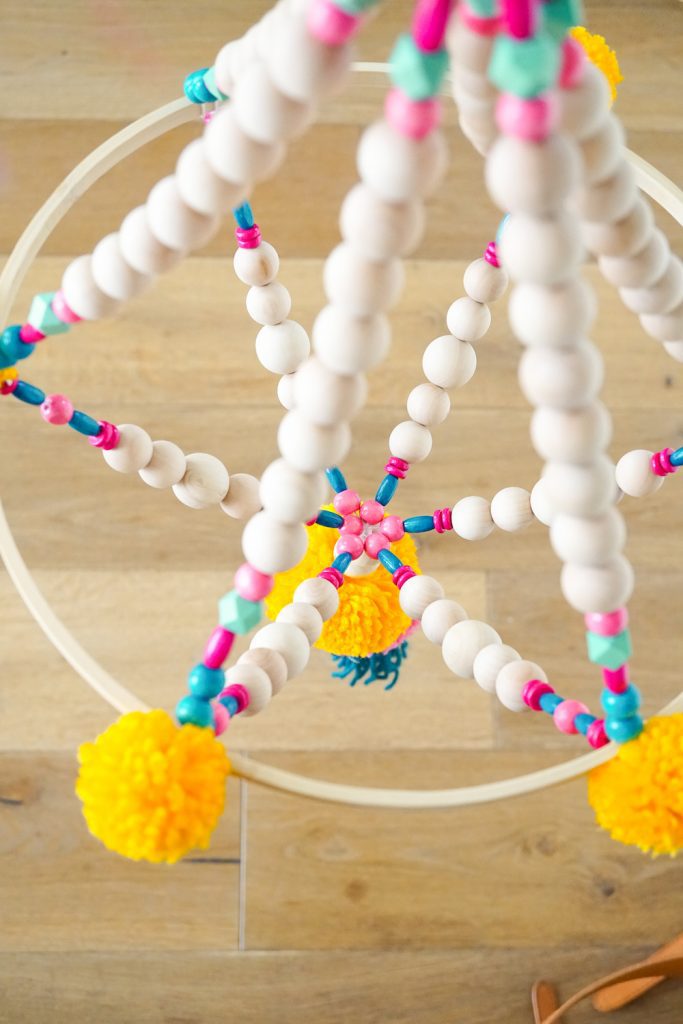
The best part about this project is that it is really easy to make…no skills required, LOL! That is a component I always try to keep in mind when sharing a DIY. How doable is this? Well, this one is beginner and budget friendly and will have your friends wondering where did you buy this?
Ready to get making? Here is what you will need:
Embroidery Hoop (I used a 14″ hoop)
Various Colors of Yarn

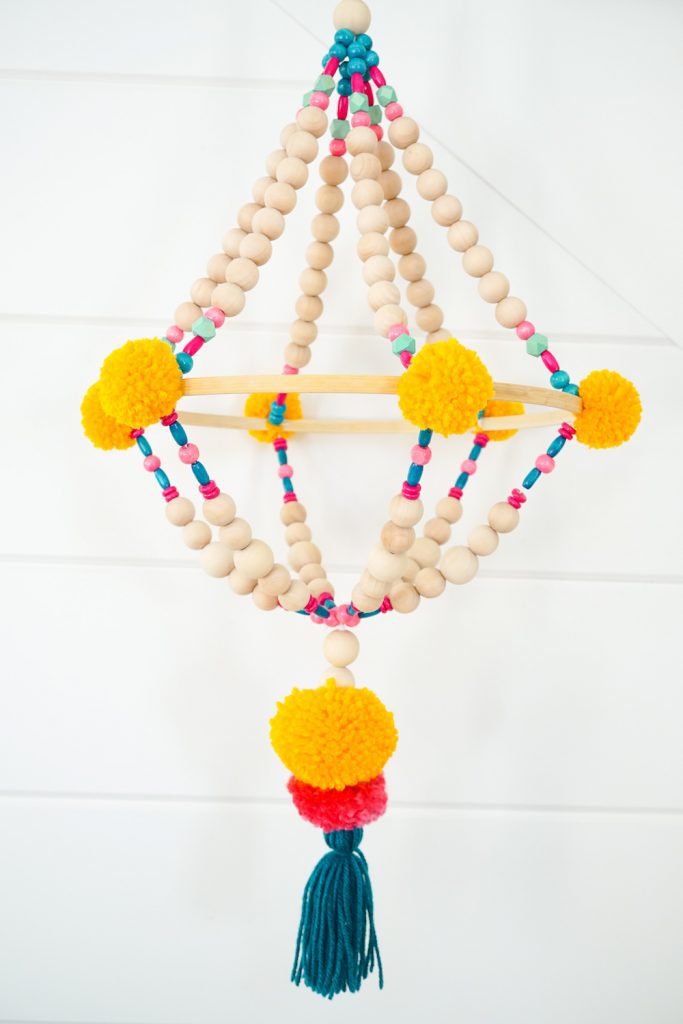
When starting this…I really didn’t have a plan. This is where you can totally get creative. I started out by stringing 6 strings of beads on approximately 18″ of string for a finished 12″ strand using a pattern of beads.


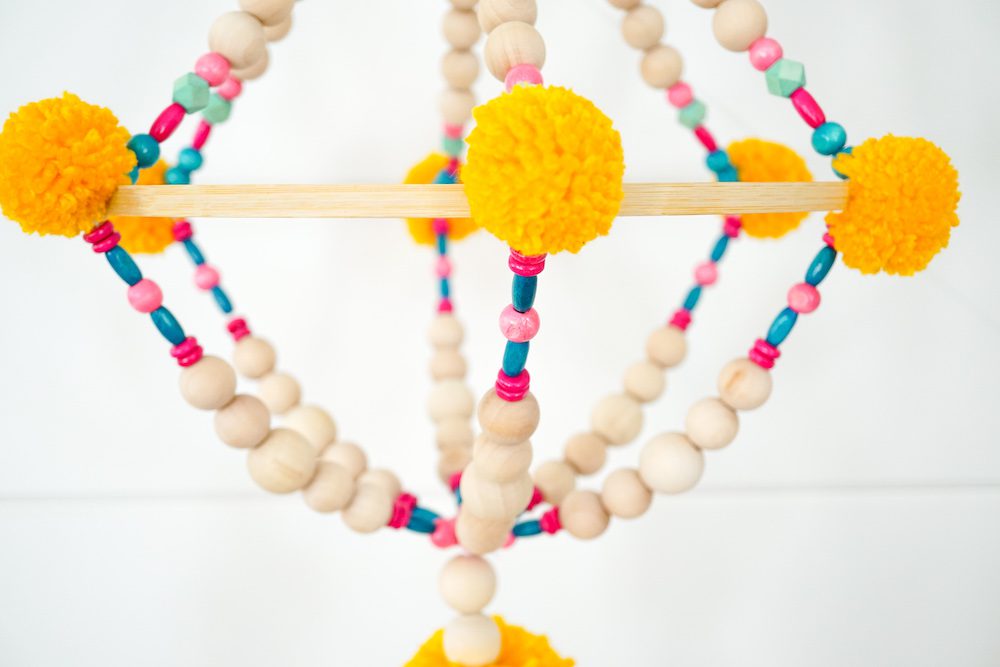
Once I had 6 six of the same beaded strands…I tied them onto the hoop by equally spacing them apart. Then I gathered those strands together with two of the larger wood beads.
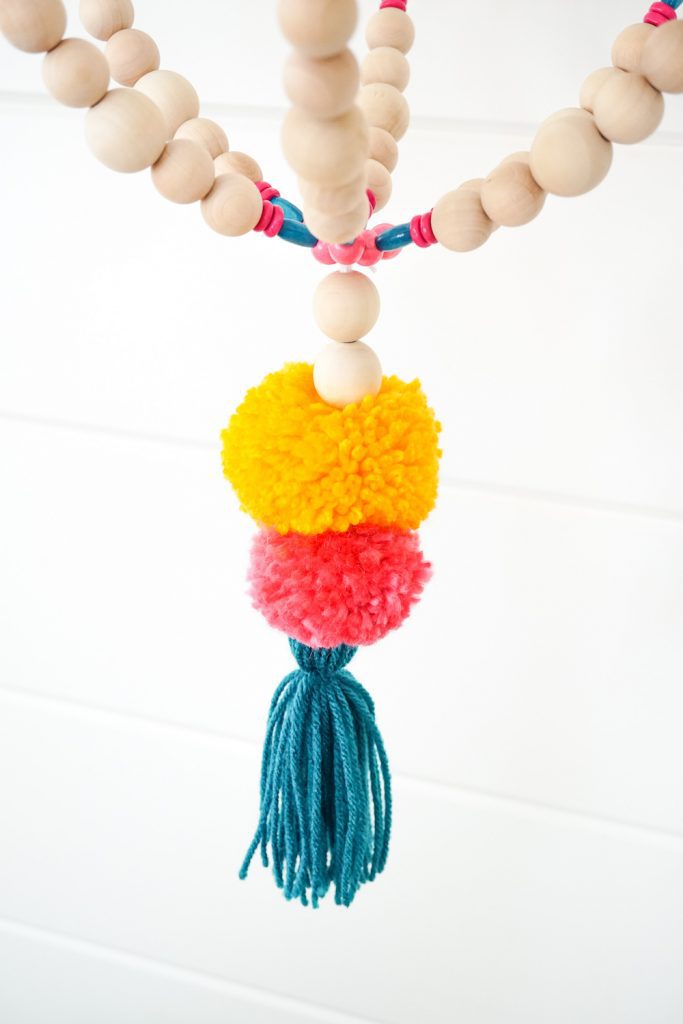
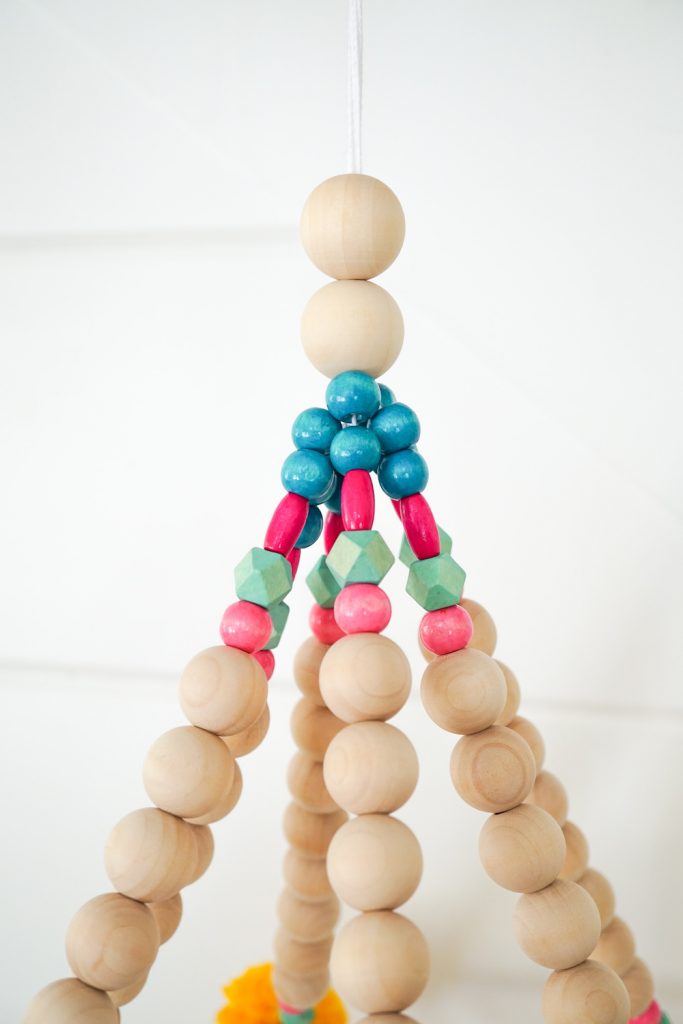 Next, I made beaded strands for the lower part of the chandelier. These strands measure about 8″ each (finished size, allow extra string to tie). The lower strands were attached to the hoop next to each upper strand. Gather the lower strands the same way as the uppers and secure with one large wood bead, 2 yarn poms and 1 tassel.
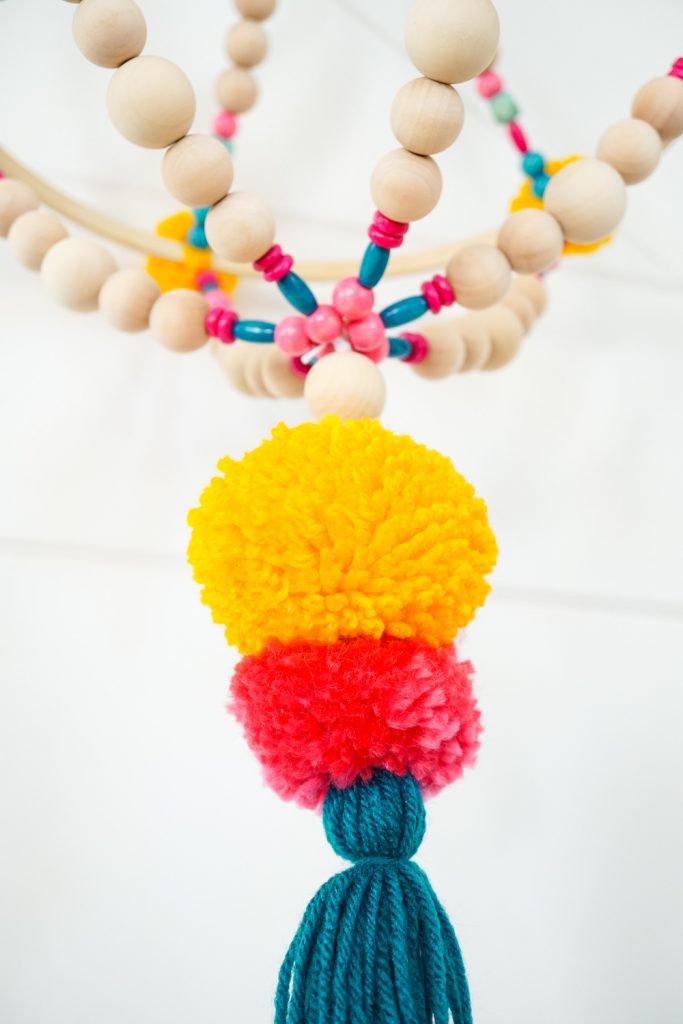
I made a bunch of yarn pom poms using the Pom Pom Makers. You can see how to use the pom pom makers HERE.
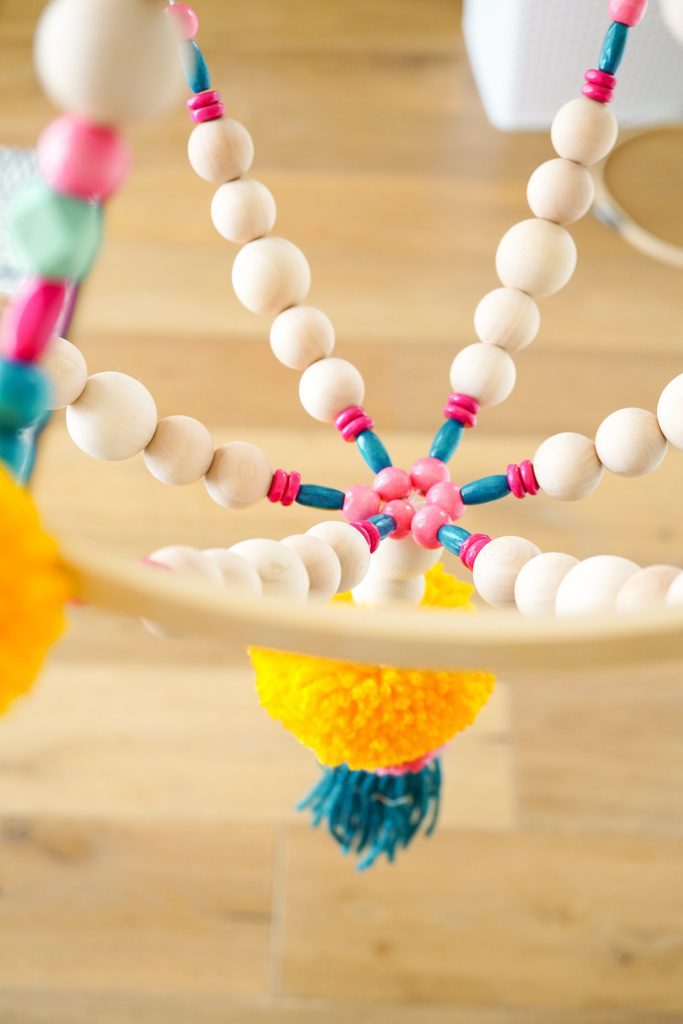
Then I made (6) 2″ poms to tie onto the hoop to hide where the bead strands are attached.
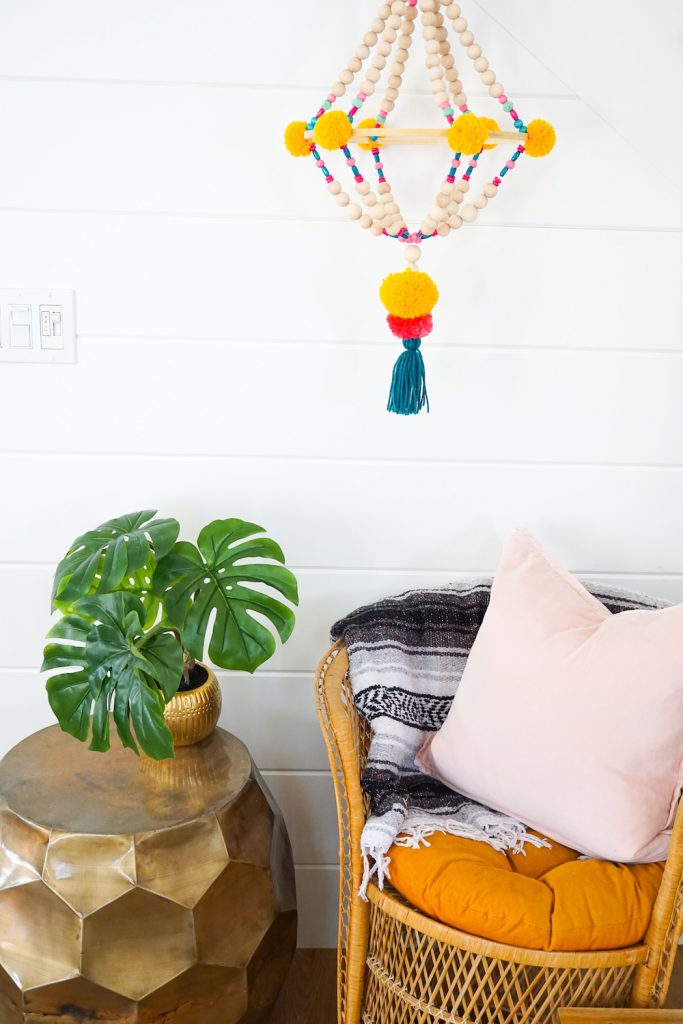
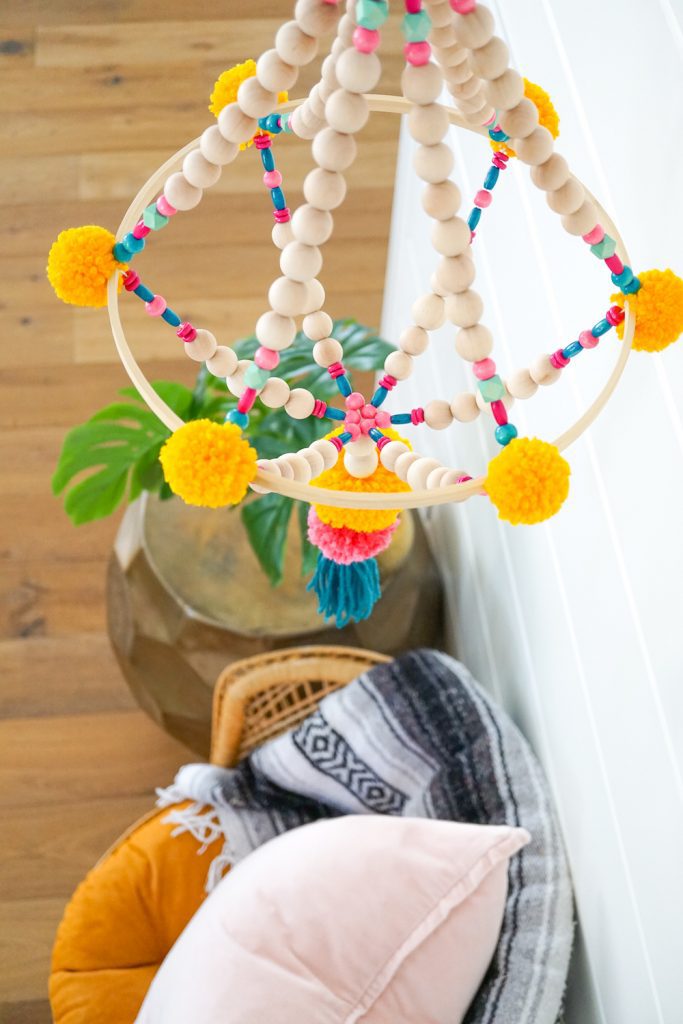
This is some serious cuteness! Are you so excited to try making your own DIY Wood Bead Pom Pom Chandelier? Well, make sure to tag me on Instagram so I can see how yours turned out! Create with you soon!!
