Hi friends! I am back with a way to beat summer boredom and the best part is that it involves Toy Story 4 fabric that is exclusively sold at JOANN. Kids and adult are going bananas for this oh-so-popular movie! So I came up with a way to create a fun project that incorporates the darling fabrics so you can make your own DIY Toy Story Tic Tac Toe Game!

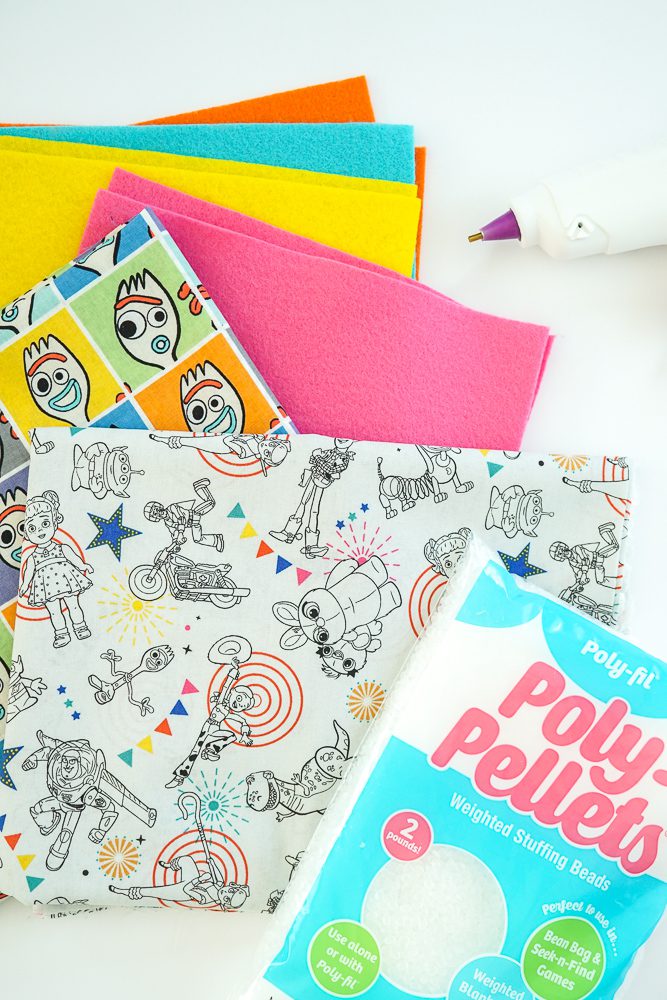
Here is what you will need to pick up from your local JOANN store
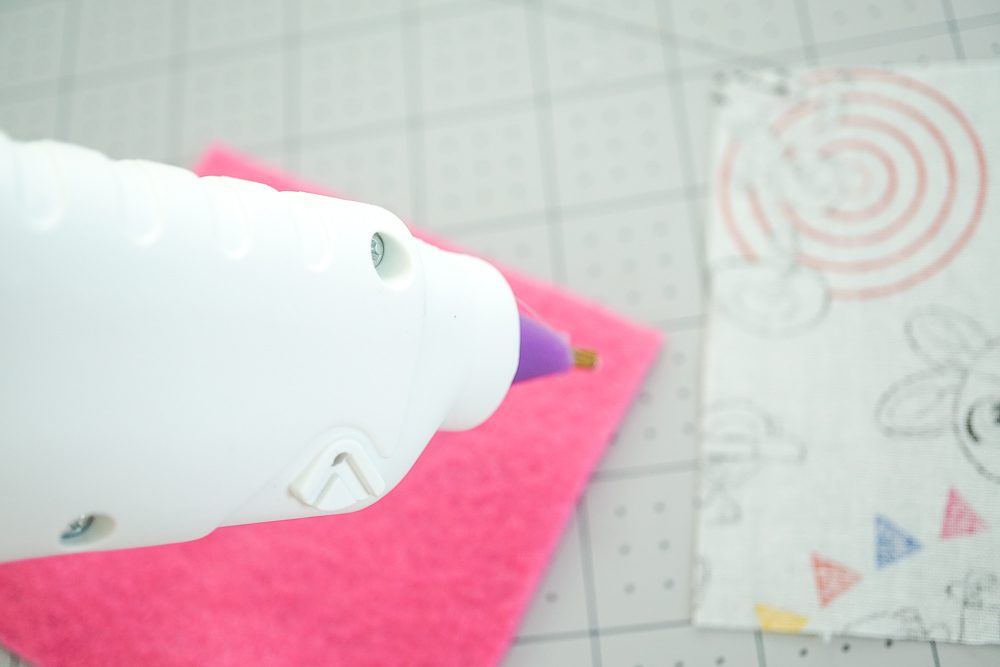
Tacky Glue (I tried hot glue but this glue worked better)
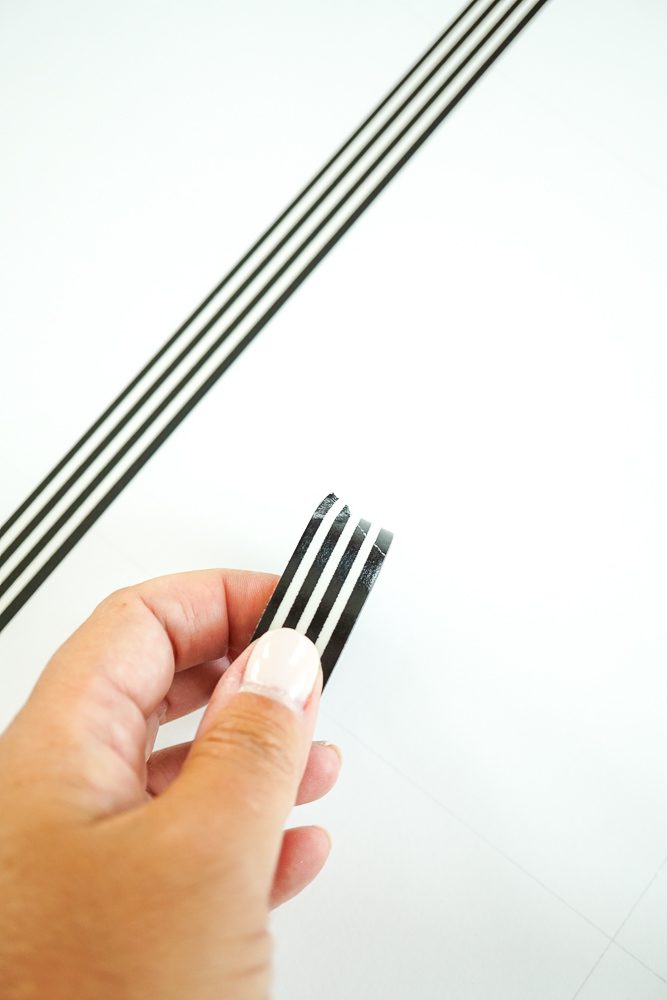
Decorative Tape or Vinyl
I started by cutting my foam board down to 18″ x 18″

Once that was cut, I used a straight edge and my rotary cutter to cut the fabric and felt into 4″ squares
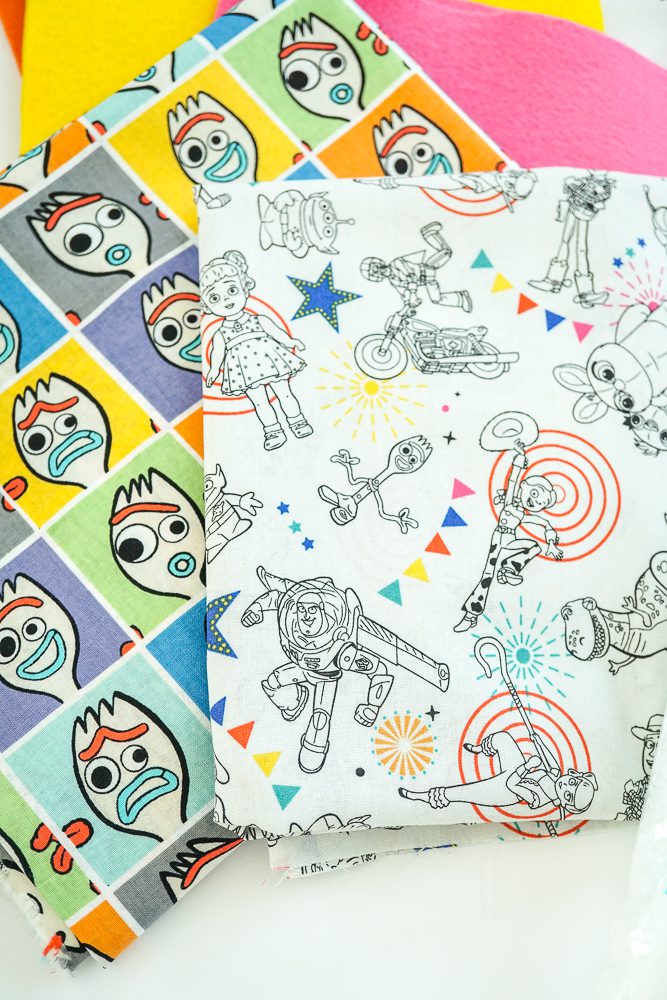

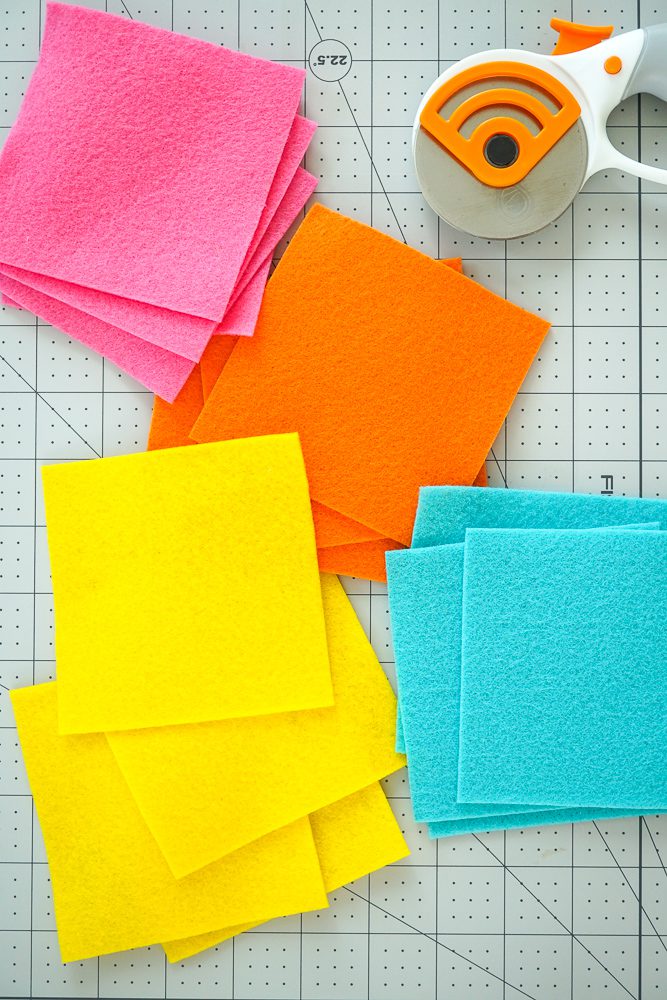
I cut approximately 8 of each Toy Story Fabric…you could easily sew these squares but I wanted to keep it simple so this is a no-sew project. Using the tacky glue, glue 3 of the sides leaving an opening for the Poly Pellets.
Fill the square about 1/3 full will the poly pellets and secure closed.
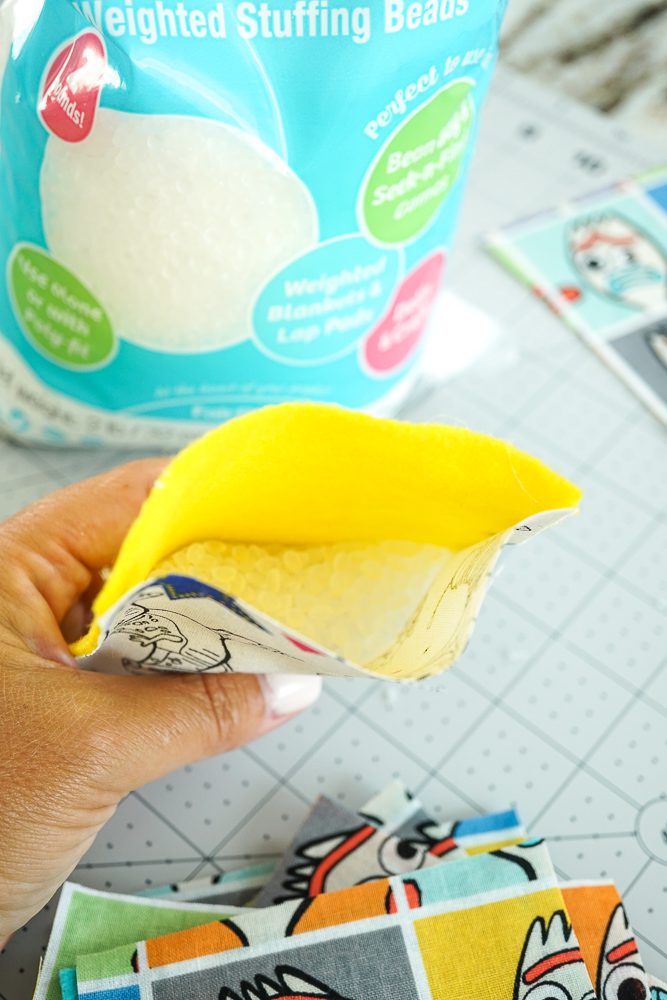
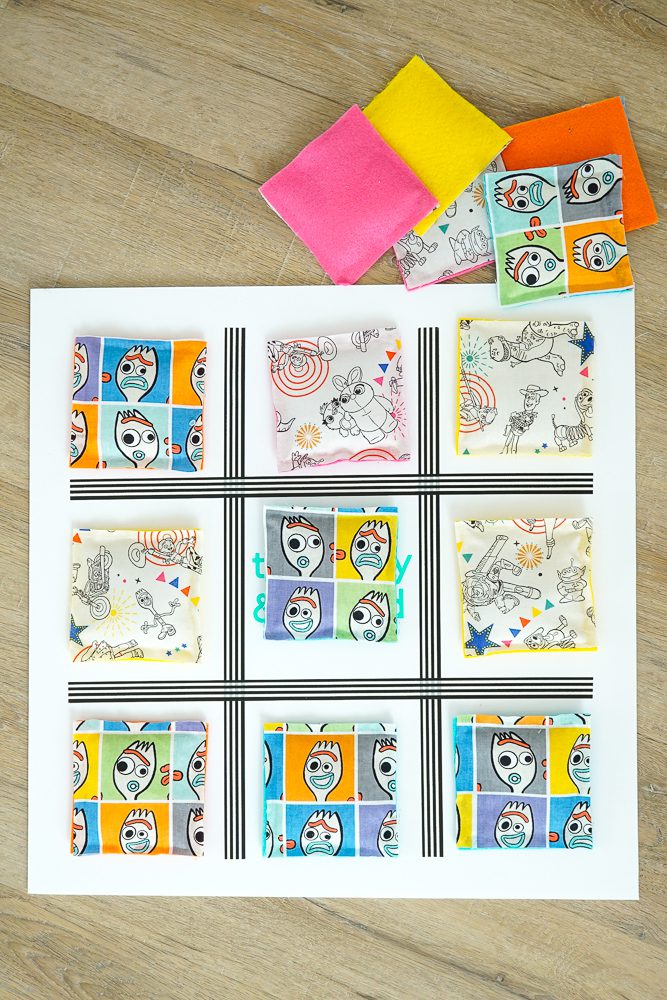
I used turquoise and orange felt to back the Forky Fabric and pink and yellow to back the character fabric.

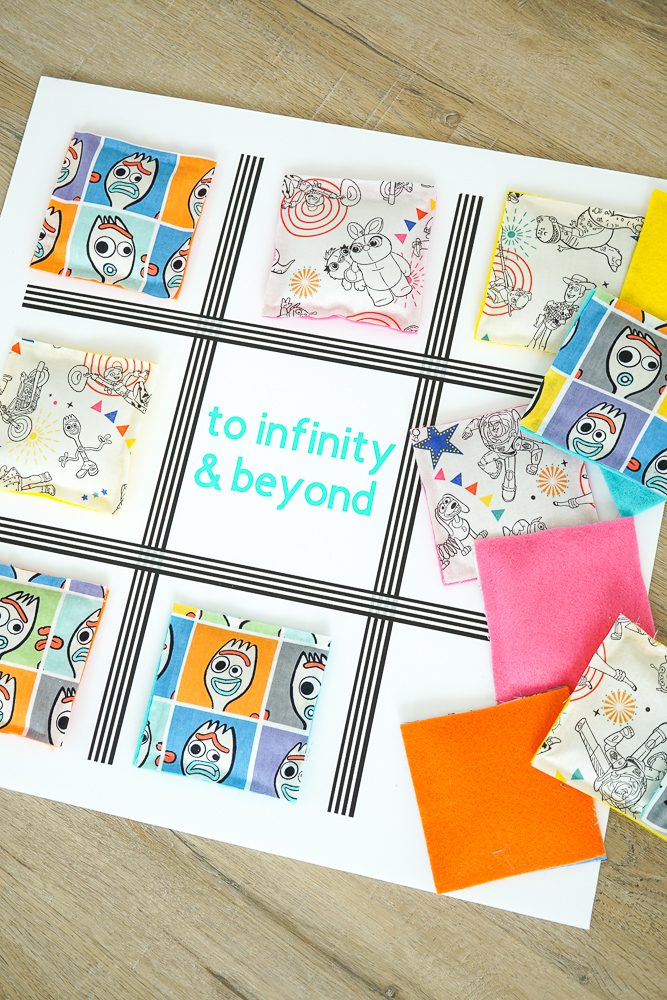
Now it’s time to make the tic-tac-toe board! Take the 18″ x 18″ foam board and make lines at 6″ and 12″ vertically and horizontally for the grid as a guide to place some decorative tape…you could even just use a marker. I trimmed my tape evenly around the edges about 1.5″ in.
Then, using my Cricut DIY Machine, I cut the infamous “to infinity and beyond” phrase to put in the center using Cricut Vinyl.


It’s that simple and now you’re ready to play!!! Who’s ready for a game of tic-tac-toe!!!