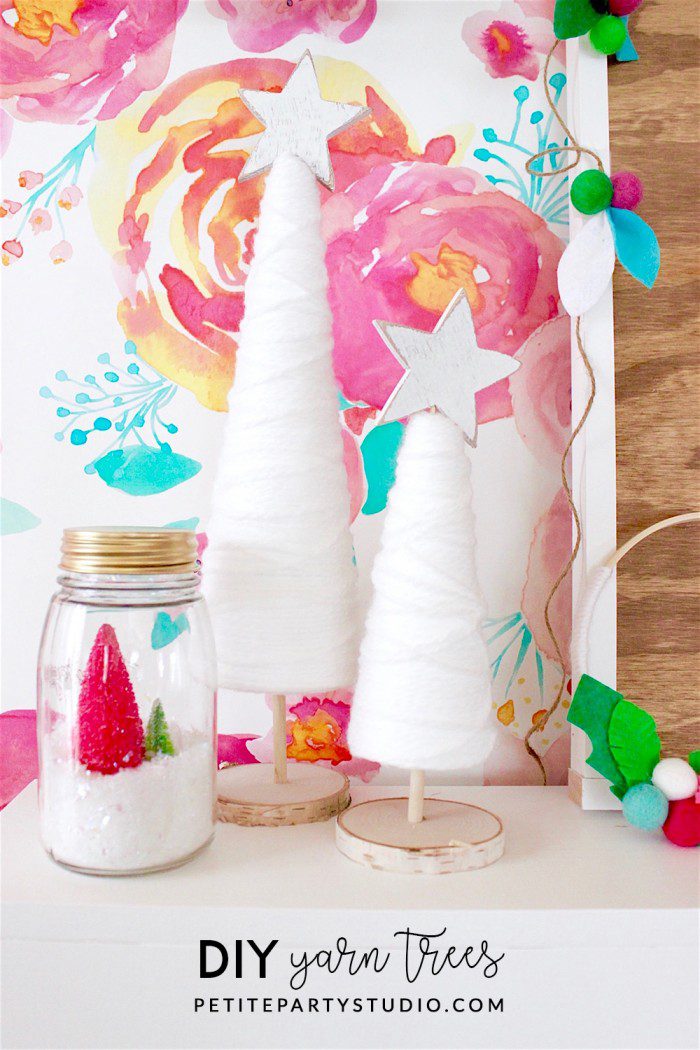
This week I am sharing a quick, easy AND budget friendly projects just in time for your holiday decorating! I shared these Holiday Yarn Tree DIY a few weeks ago with our friends over at Classy Clutter and wanted to share it here too!!
Target had some similar trees and as much as we all LOVE Target, I wanted to bring more handmade into my holiday decor. So, this project was something that I knew wouldn’t take a ton of time and the results were amazing! Let’s check this out!
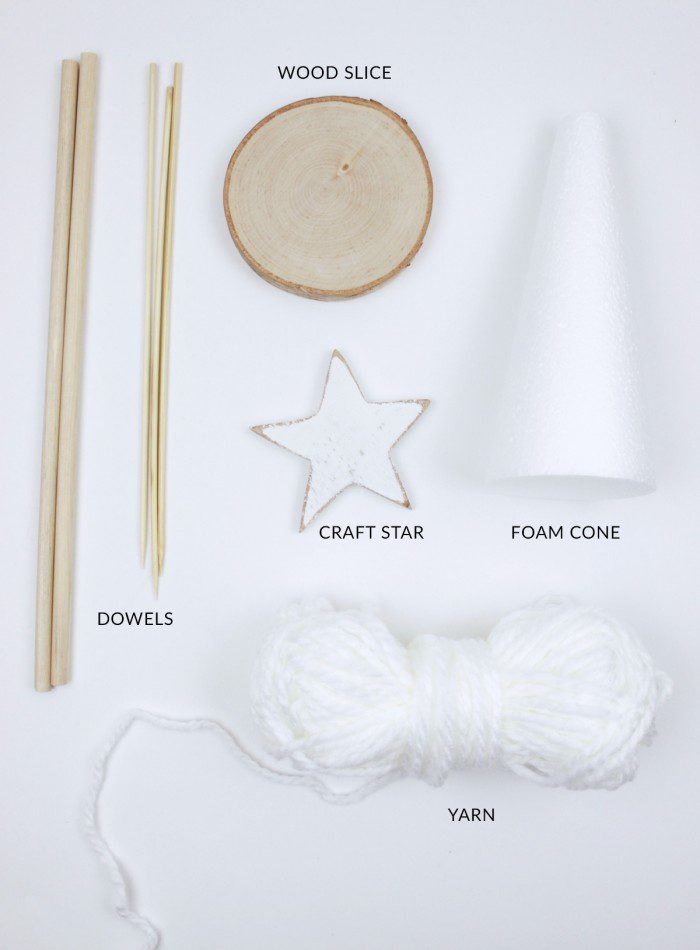
Here is what you will need to make your very own Holiday Yarn Tree DIY
Styrofoam cones
Yarn
Glue gun
Wood Dowels | Skewers
Star Cut outs or paper punches
Birch Wood Discs
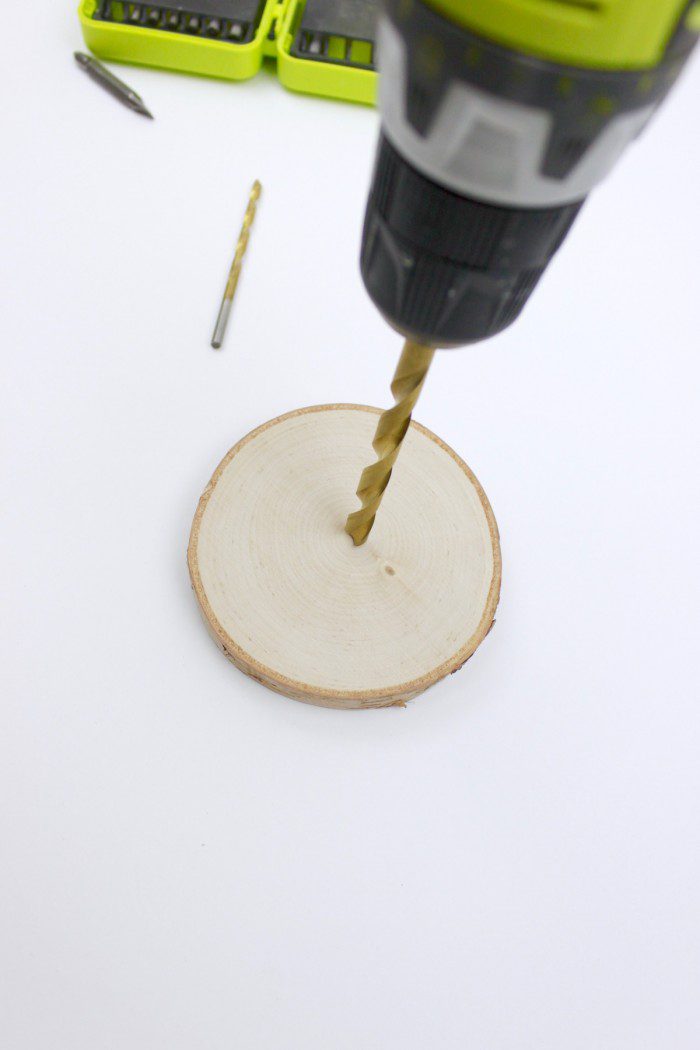
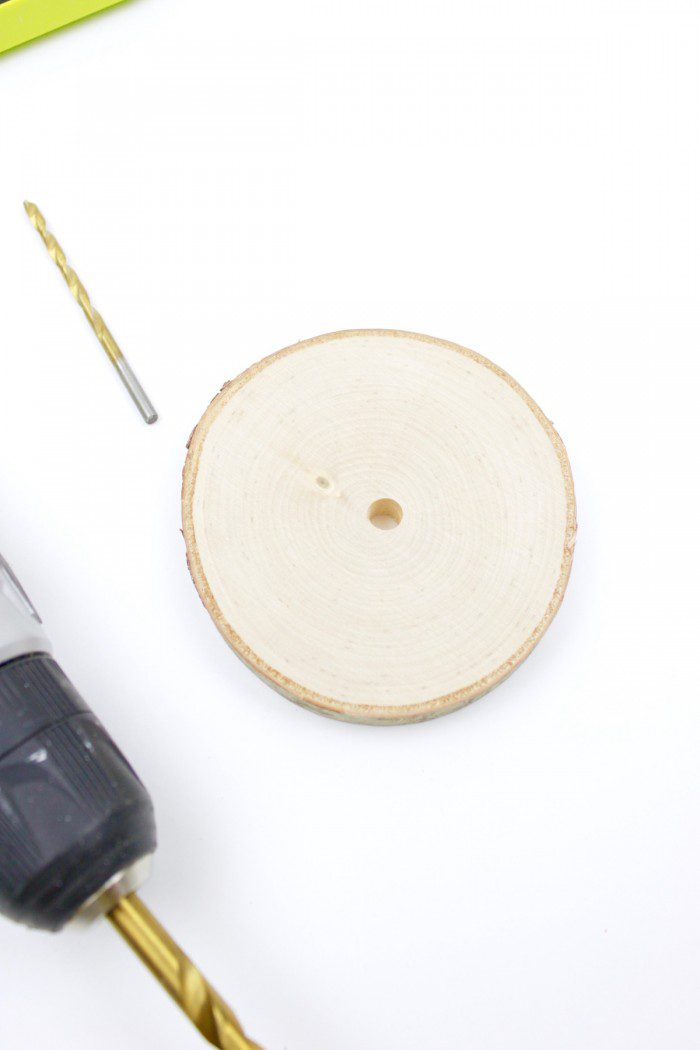
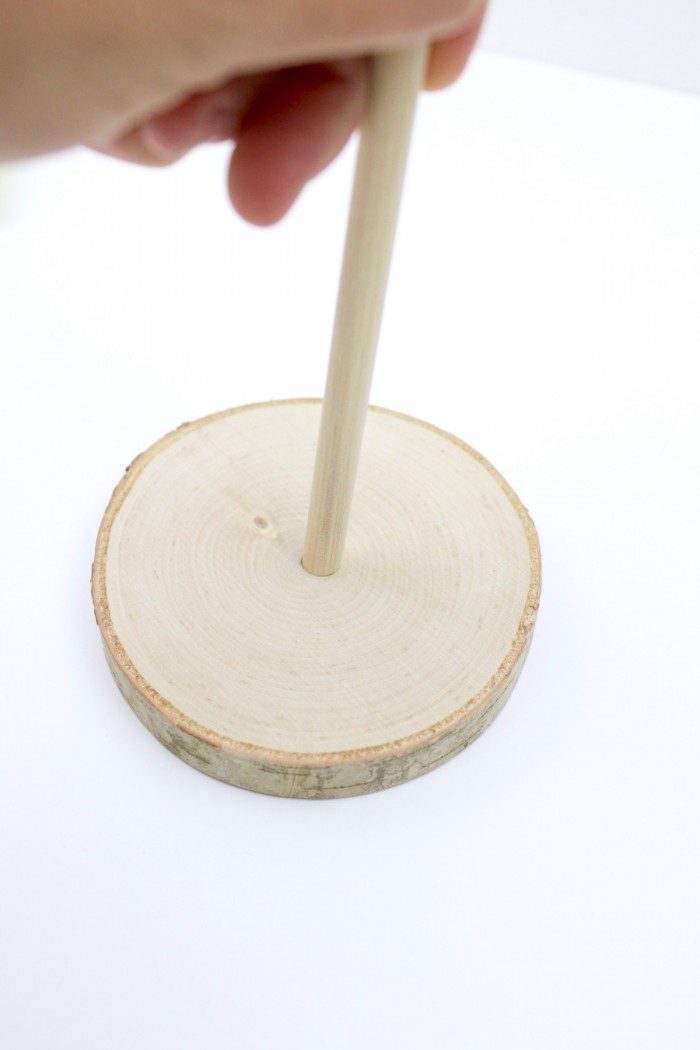
I started by drilling a hole the size of the dowel into the Birch Wood Disc
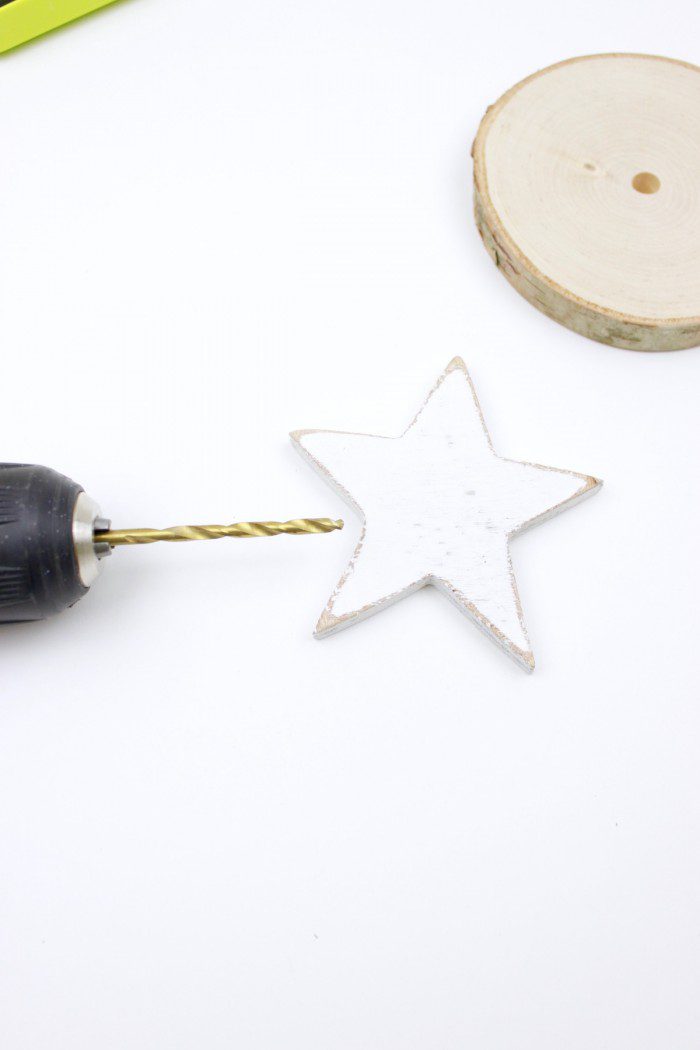
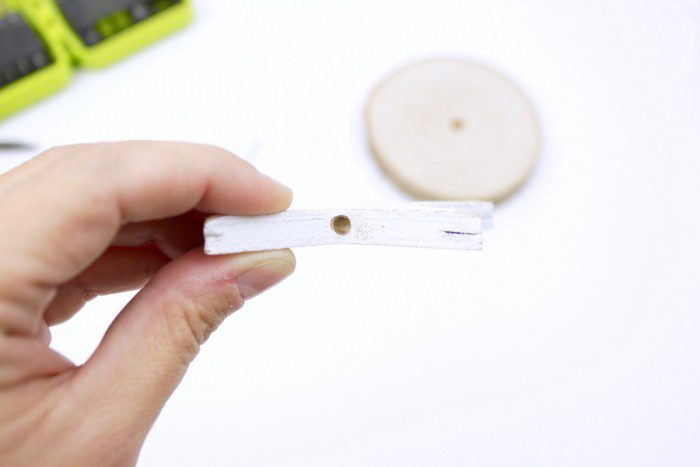
Next, I drilled a small hole in the bottom of my wooden star that was measured off of the skewer size
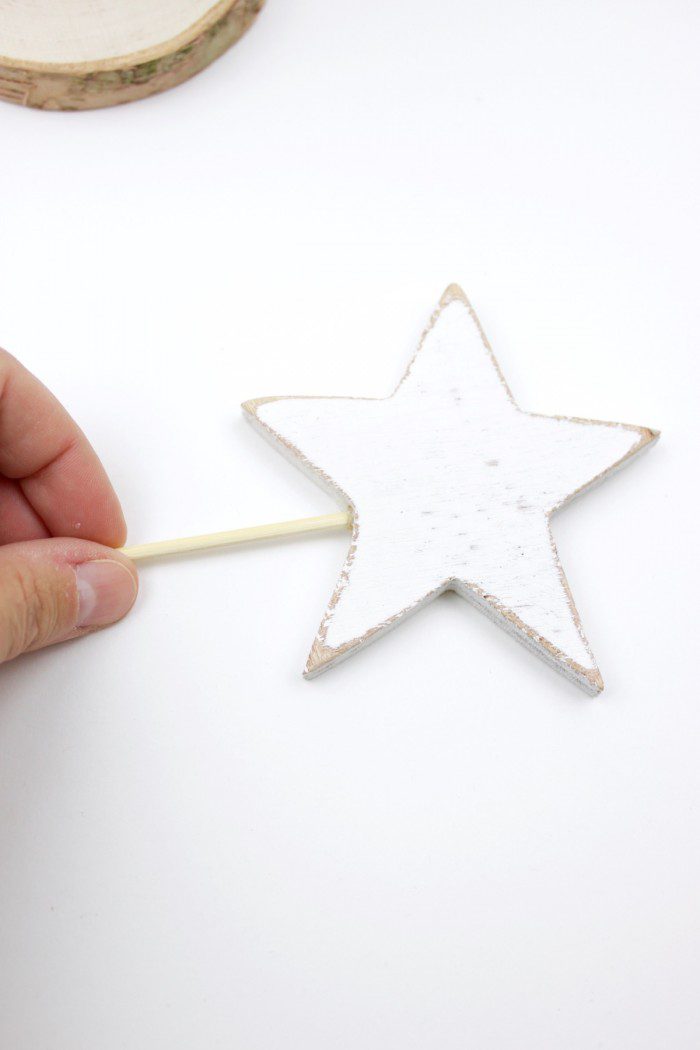
I used a small dab of hot glue to secure the wood skewer into the tree topper
Next up, the tree! Starting at the top of the tree with some glue, begin wrapping the yard around the cone.


Continue wrapping the yarn down the cone.



Once the cone was wrapped in yarn, continue with a top layer of yarn to create an overlay pattern.
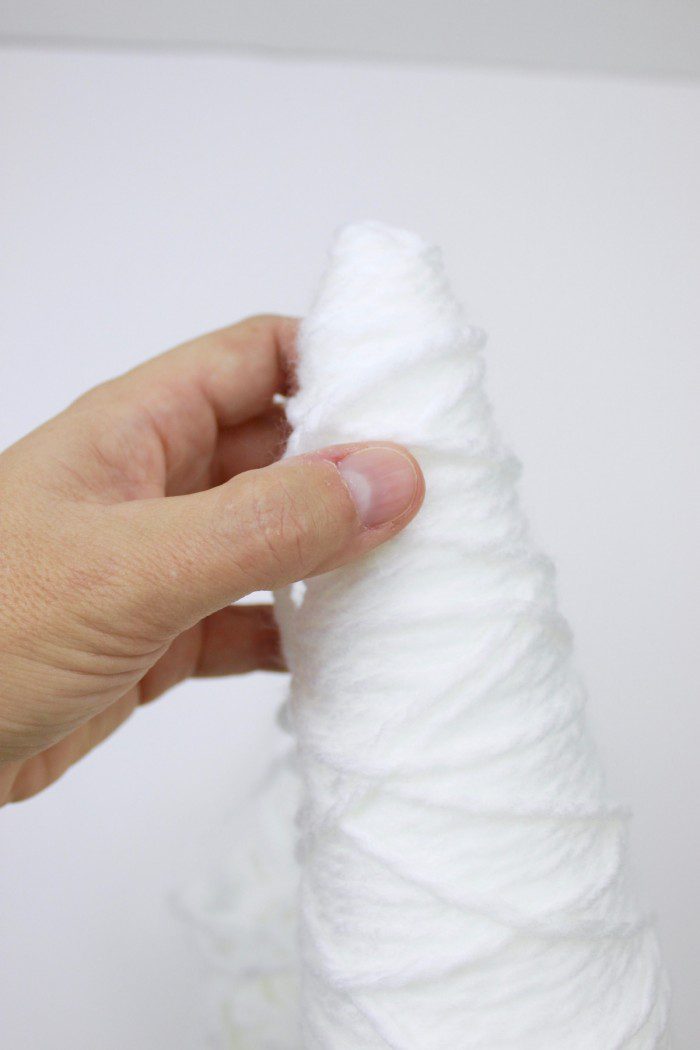
Once the entire cone is covered, insert the tree base and star topper
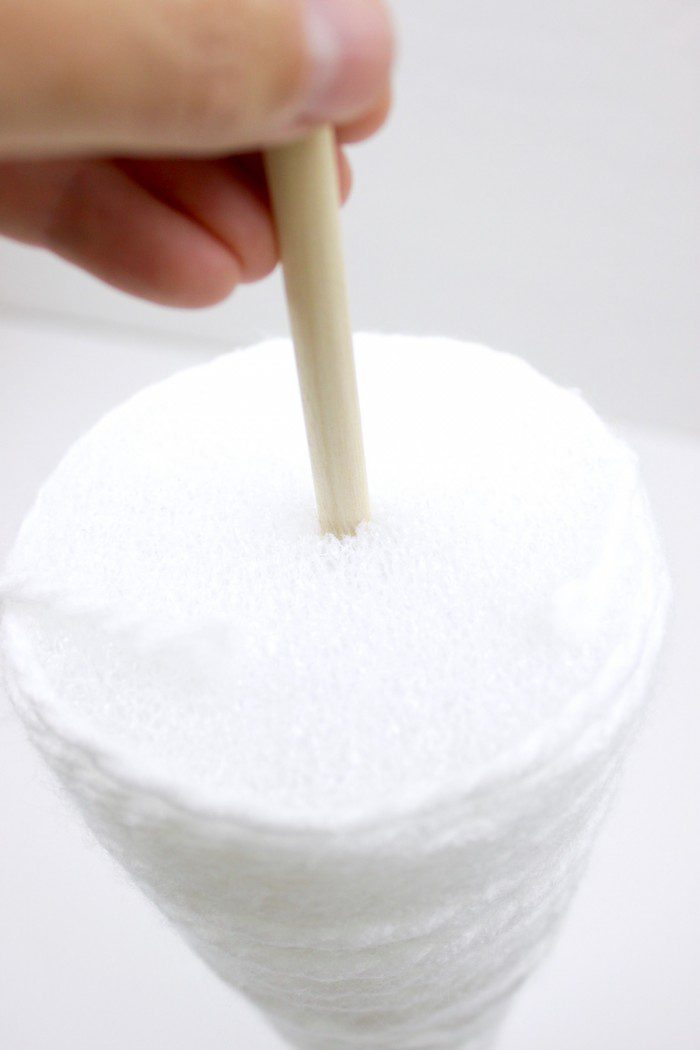
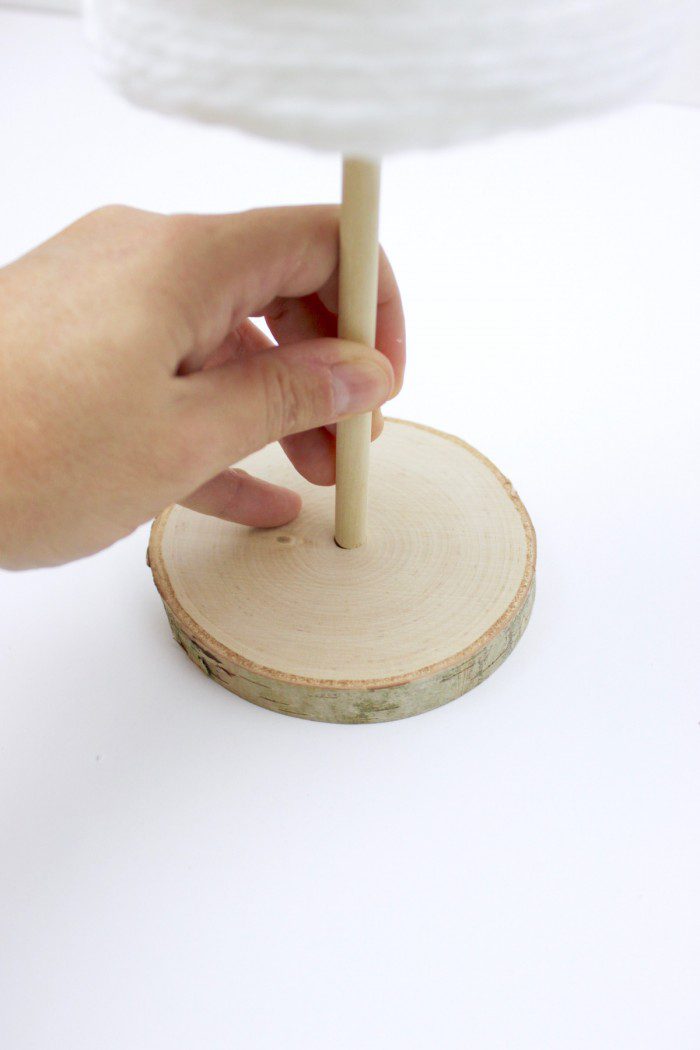
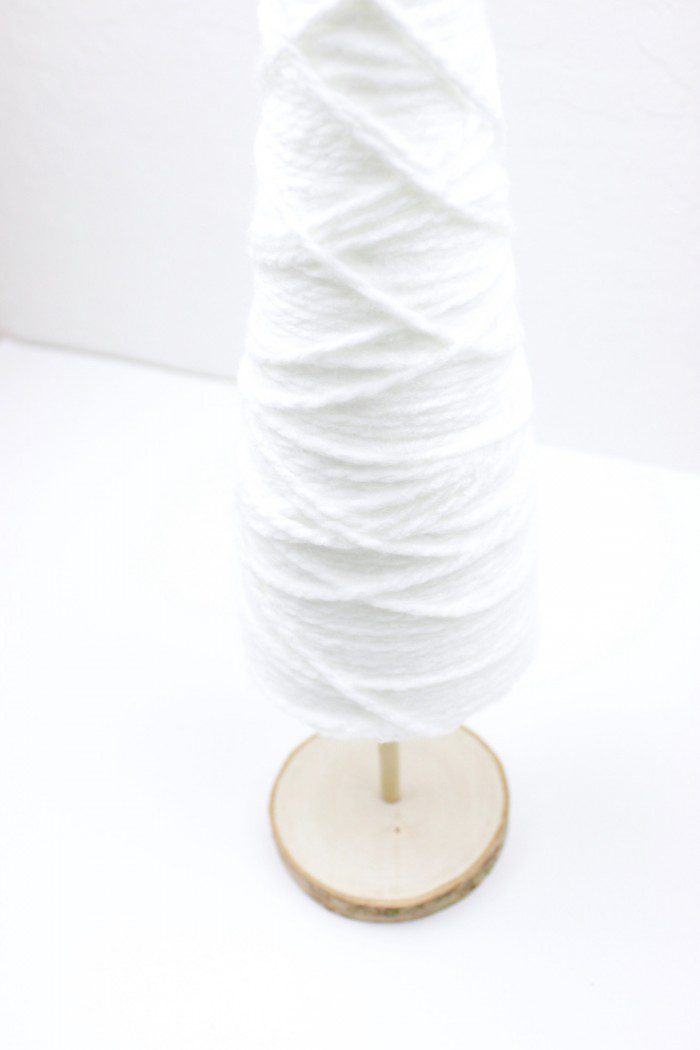


I made a few of these darling trees in various sizes, you can even play around with layering different colored yarns!!
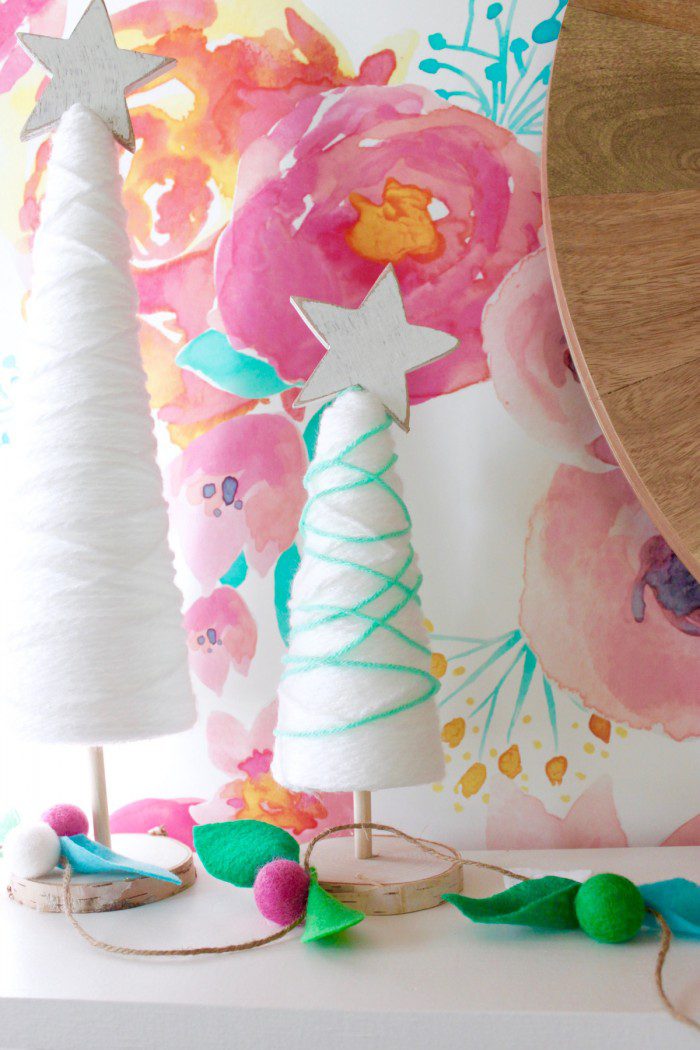
My cute yarn trees are mantel ready!! Bring on the holiday decor!!!!

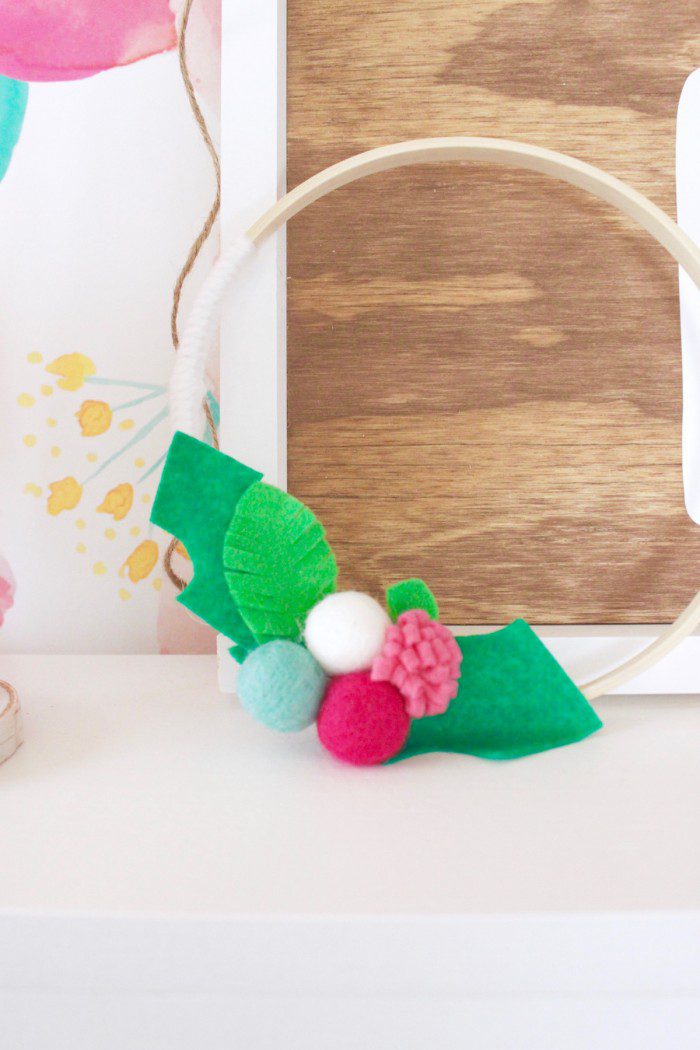
I also added in these embroidery hoop wreaths…
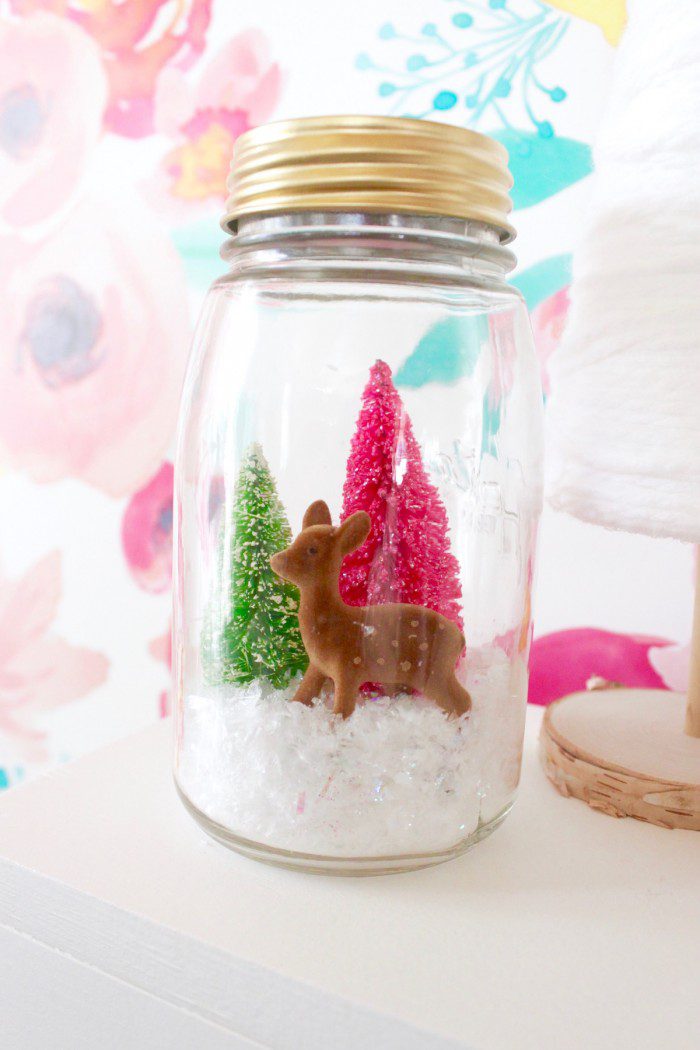
Jars filled with faux snow and mini trees, fun, right?

and why not add a sweet lil’ deer!!
Well, there you have it! For just a few bucks or maybe you already have some of these supplies available, you now have the “how-to” to get busy creating! Thanks for stopping by! Happy Holidays!!
