This post is sponsored by JOANN…all thoughts and opinions are my own.
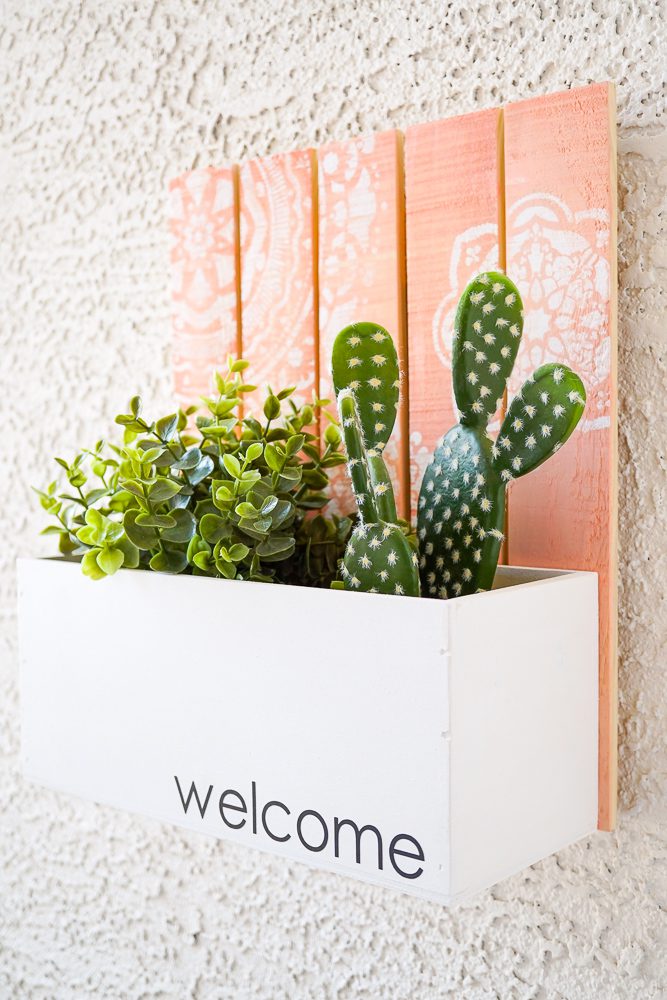
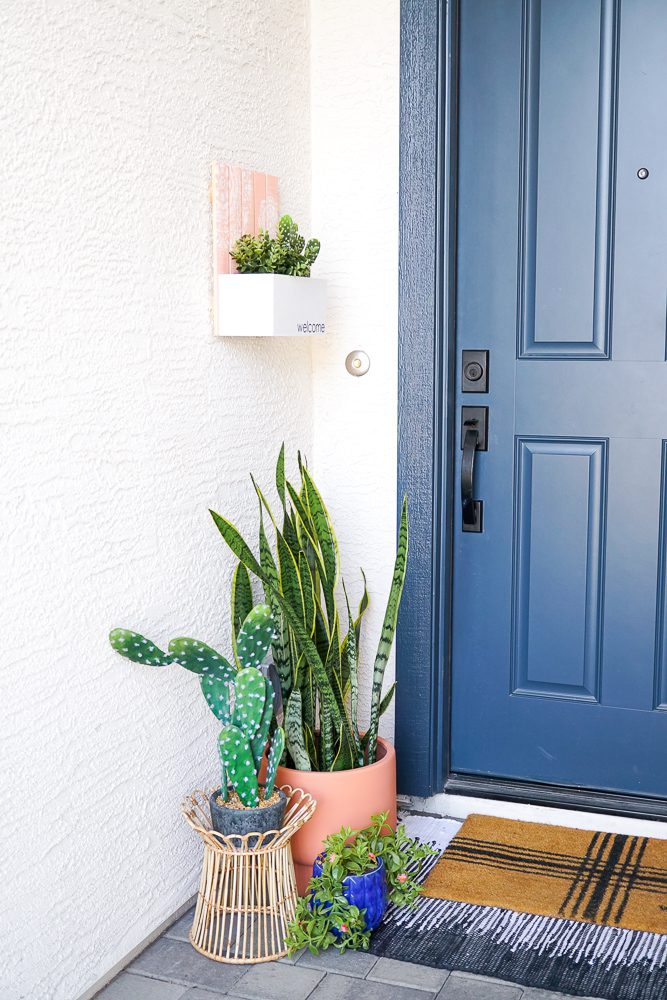
I have been so busy decorating and DIY-ing projects for the inside of my home I almost forgot about the the outside! I think the front entry is an area that can be easily forgotten…but I am here to tell you that it is a space that for sure makes a first impression. With the help from my local JOANN store, I was able to create a super fun and easy DIY Welcome Address Planter.
I was able to find some unfinished wood pieces and repurpose them to create a project that any beginner DIY enthusiast could tackle!
Here is what you are going to need to create your own:
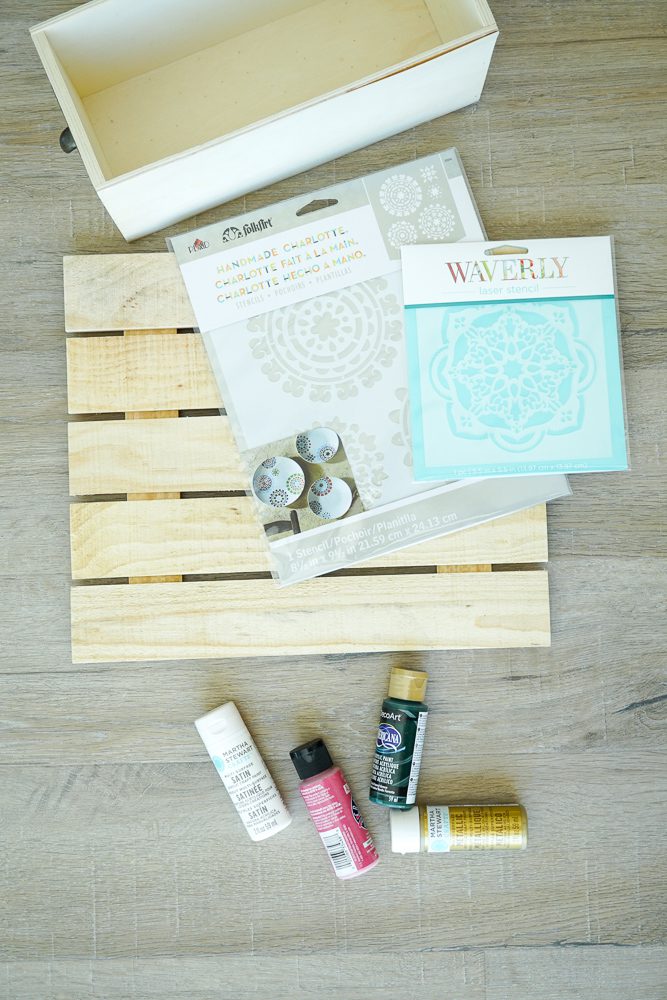
Cricut Cutting Machine or Vinyl Letters or Number Stickers
You will also need some basic tools such as a screwdriver, sandpaper and woodfiller.
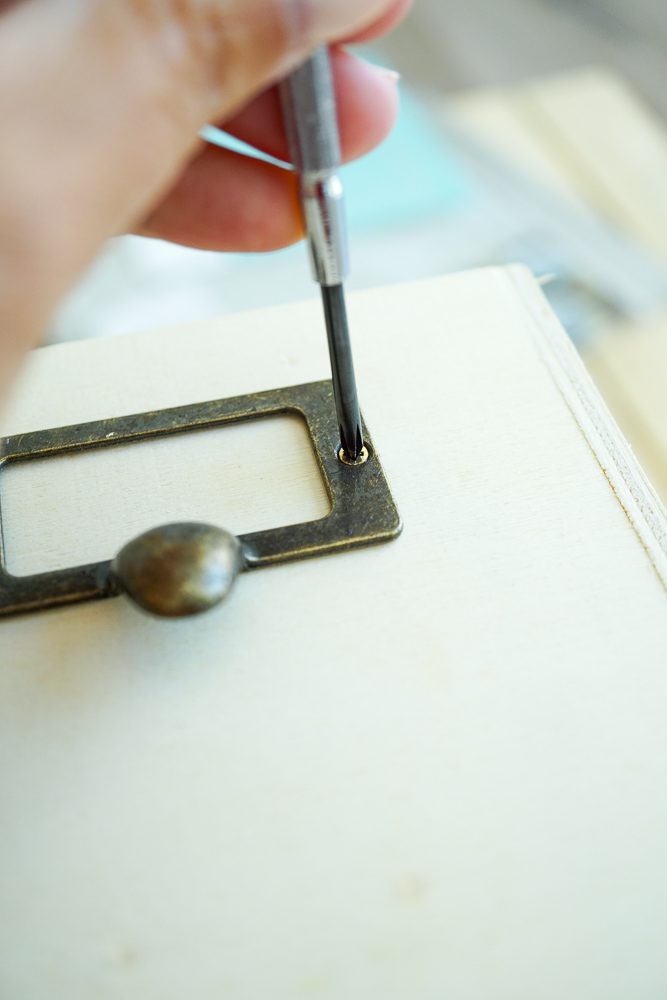
I started by removing the metal label frame from the Wood Box. Then I had to fill the screw holes and sand them smooth.
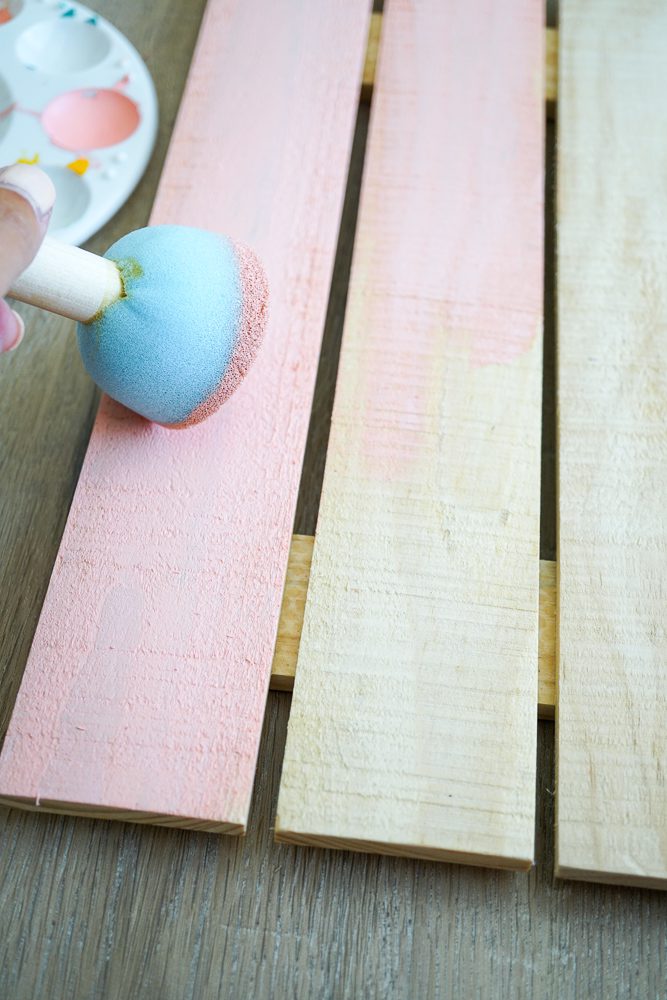
Next, I started painting the wood pallet with acrylic paint in a solid color for the back of the planter.
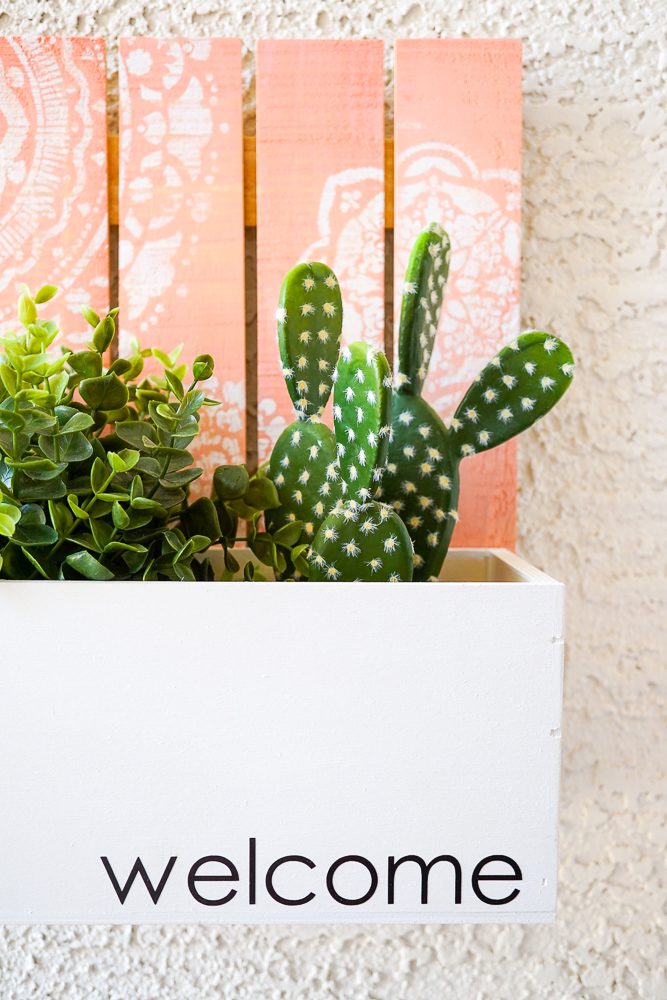
Once the wood pallet was dry, I used the medallion stencil to apply a decorative design to the planter.
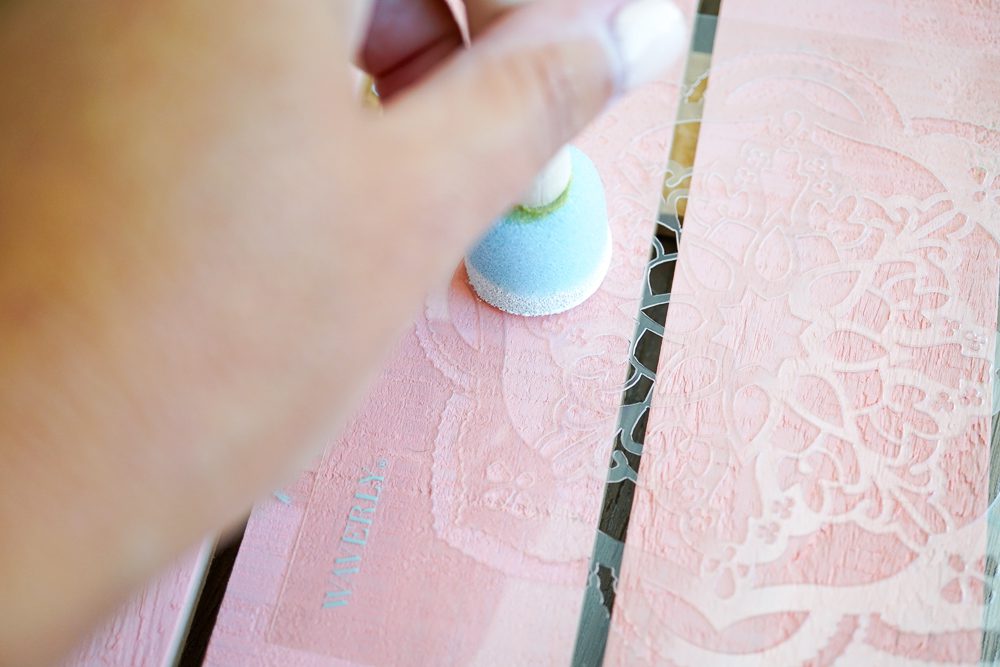
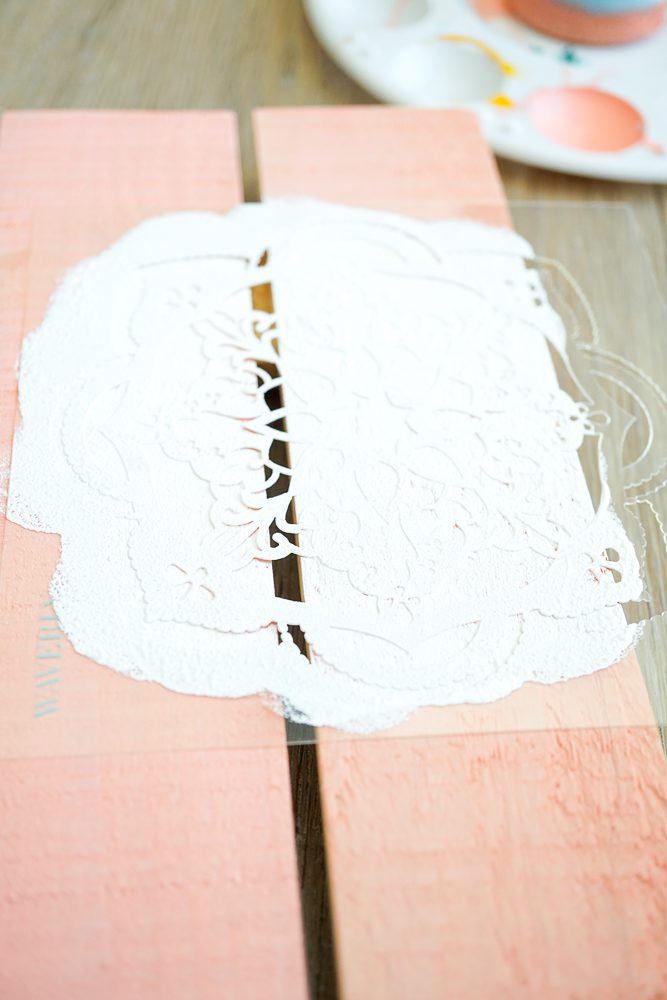
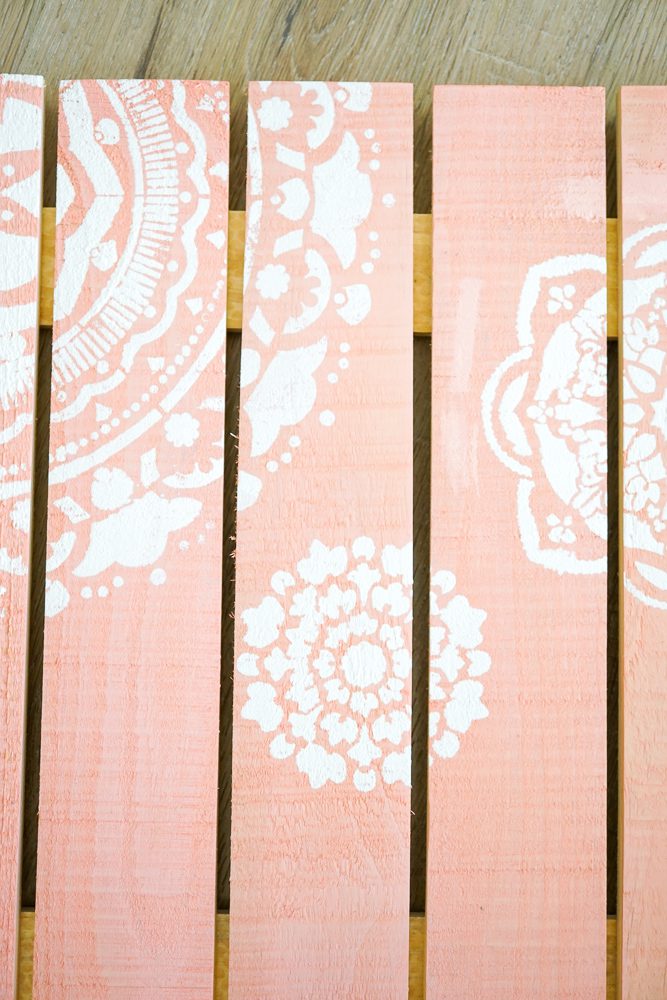
I used a variety of sizes of the medallion design…once they were painted on and dry, I used a fine grit sandpaper to give the pattern a more worn in look.
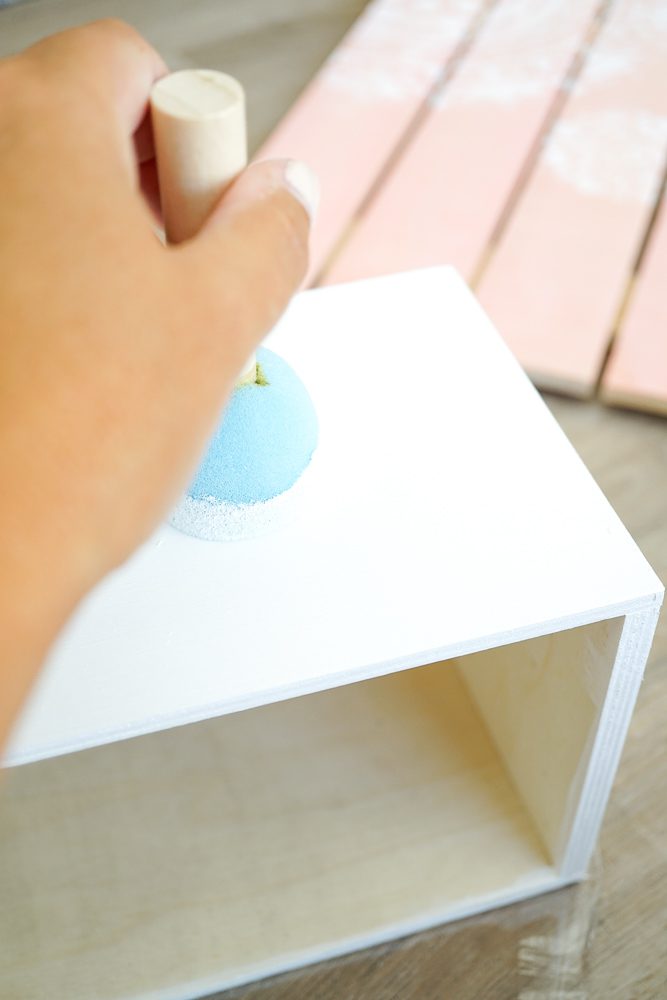
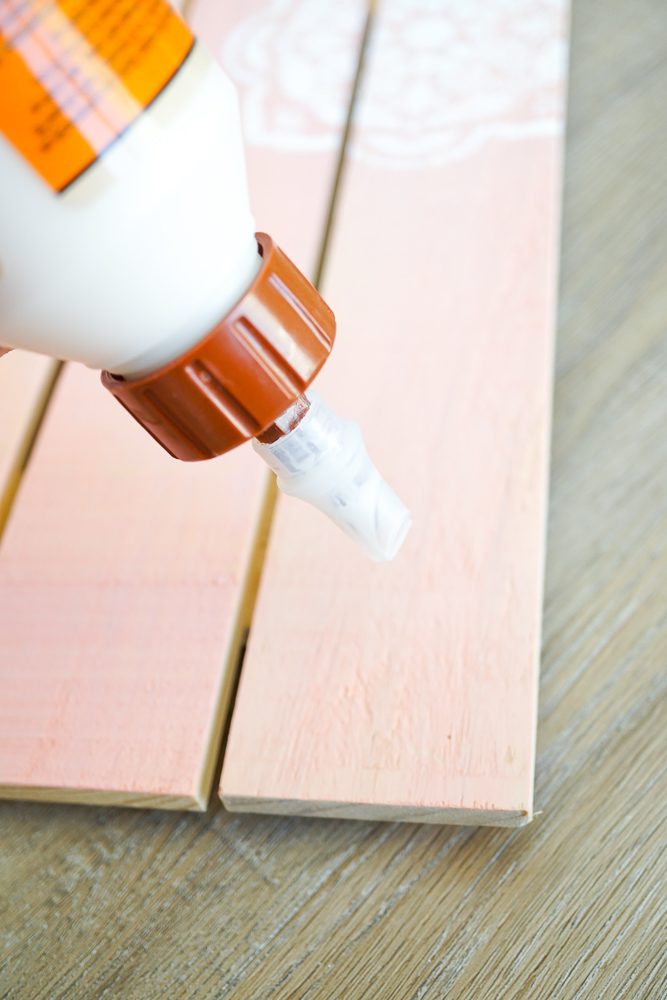
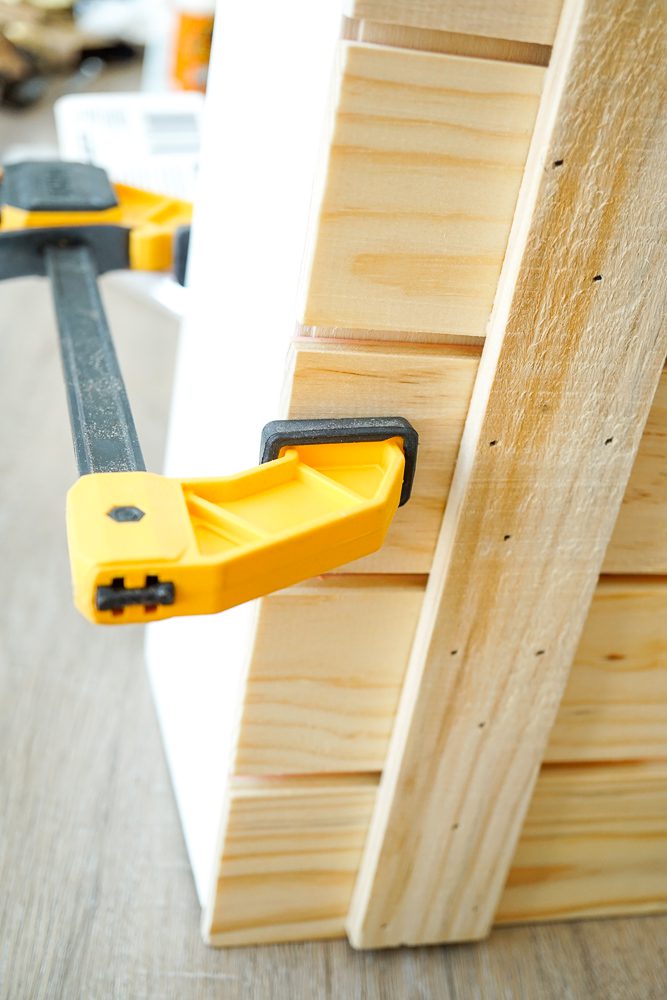
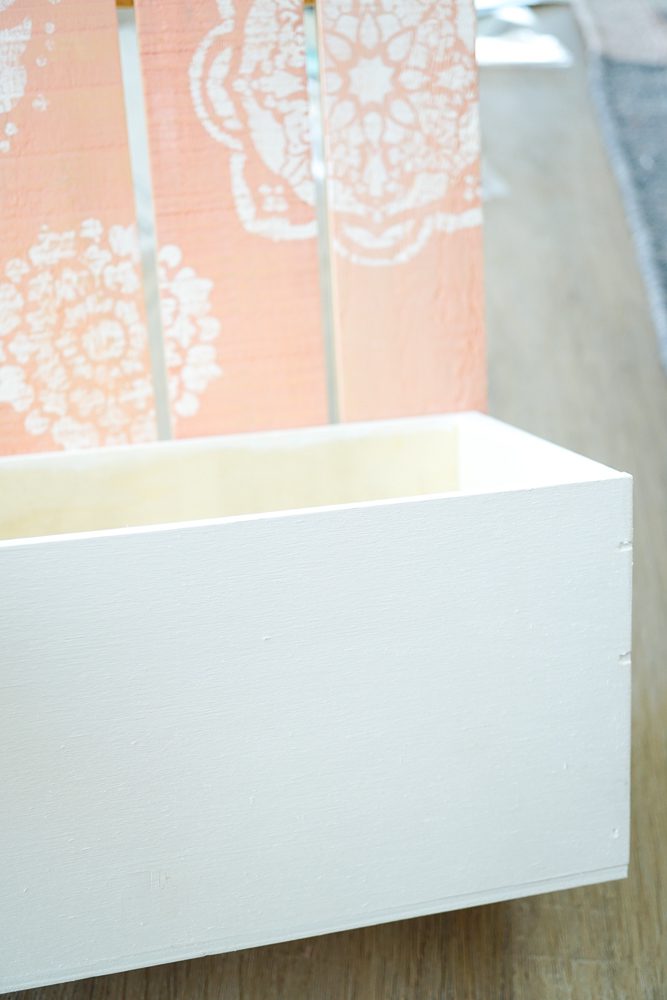
Now that the back was painted, I moved on to the box. I painted this part solid white. Using wood glue, a few brad nails and a clamp, I attached the box to the front of the wood pallet.
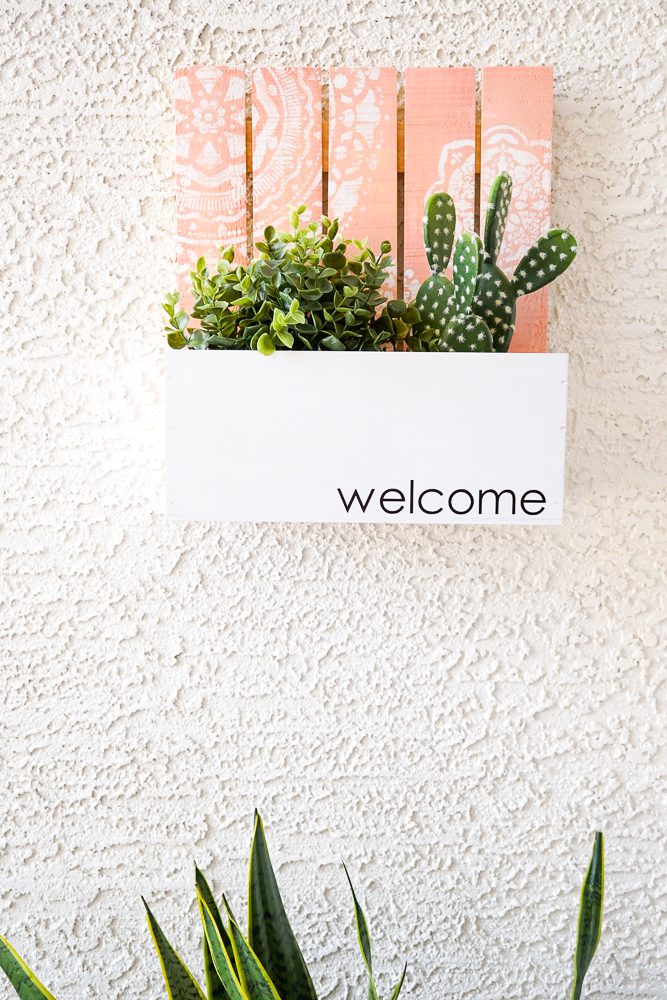
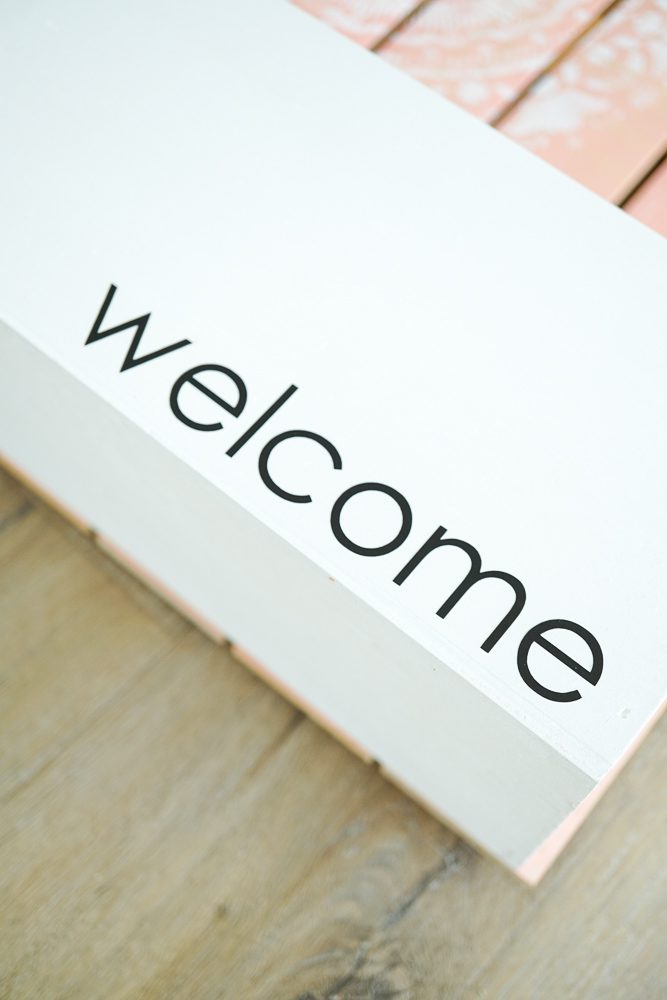
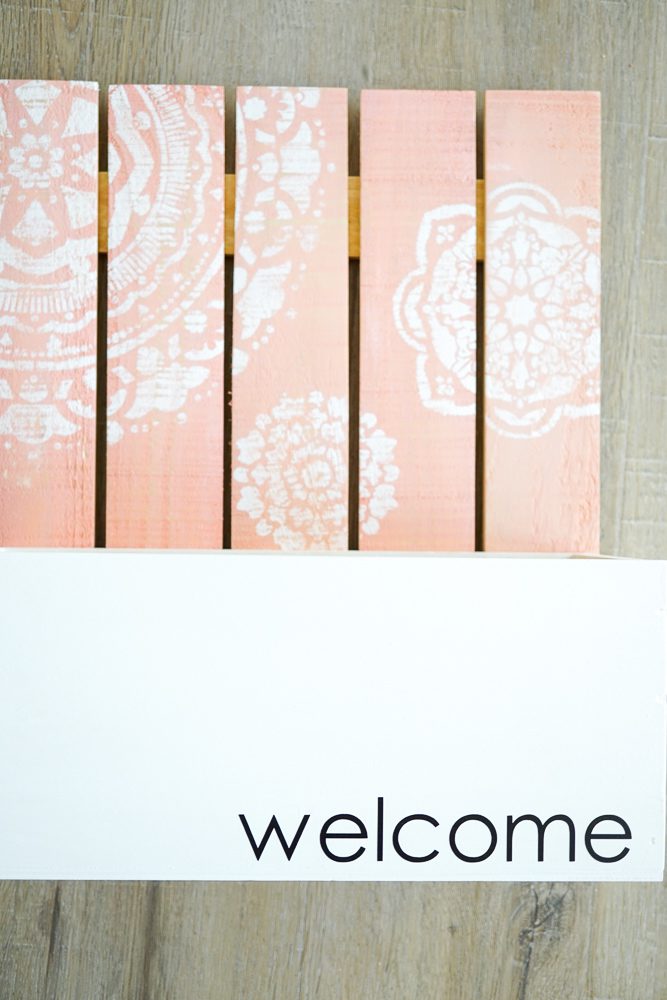
I used my cricut to cut the word “welcome” in black vinyl to add to the front of my planter. You could put your house number, last name, or a different saying…this is your chance to personalize it! To hang this, I attached two D-rings to the back and then mounted it to my entry wall with some stucco screws.
I decided on faux greenery to fill my planter that way I can easily change them out for the season and not worry about waterproofing it too! Isn’t this such a fun DIY!???
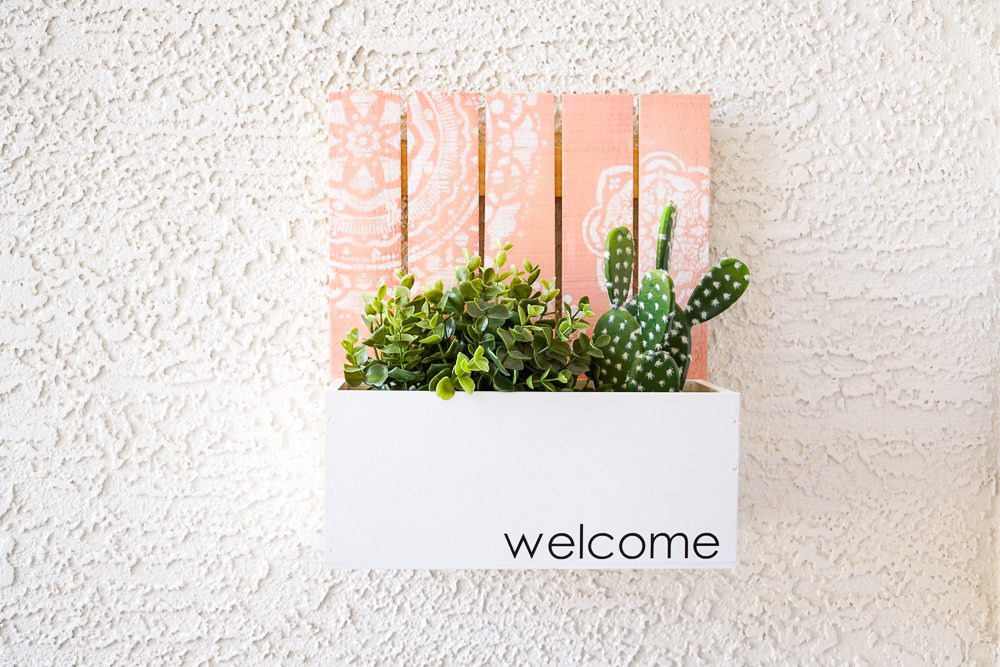
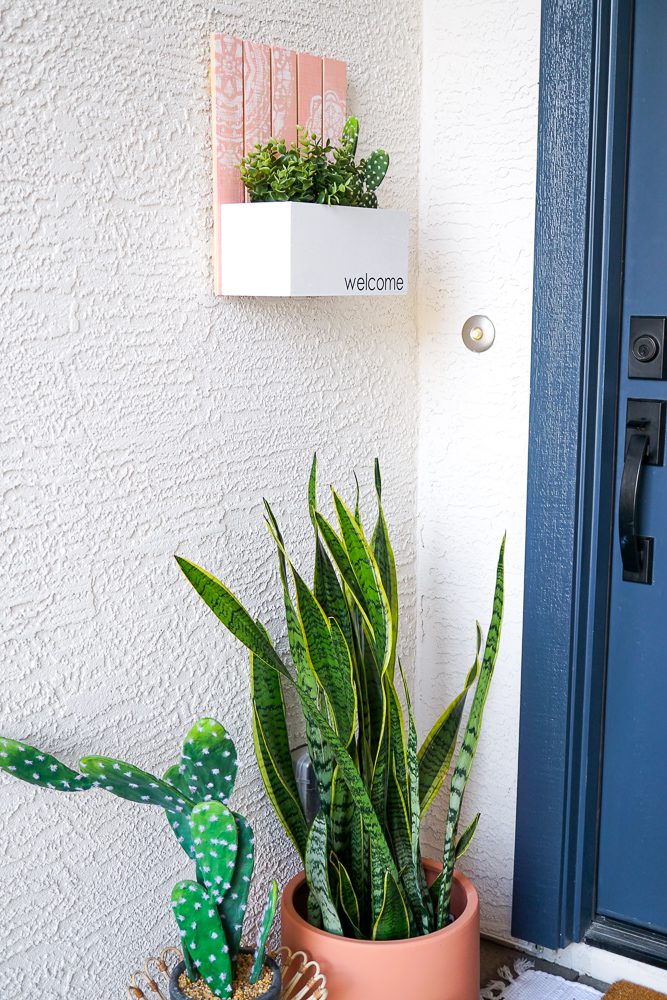
I really LOVE the way the stenciling turned out…
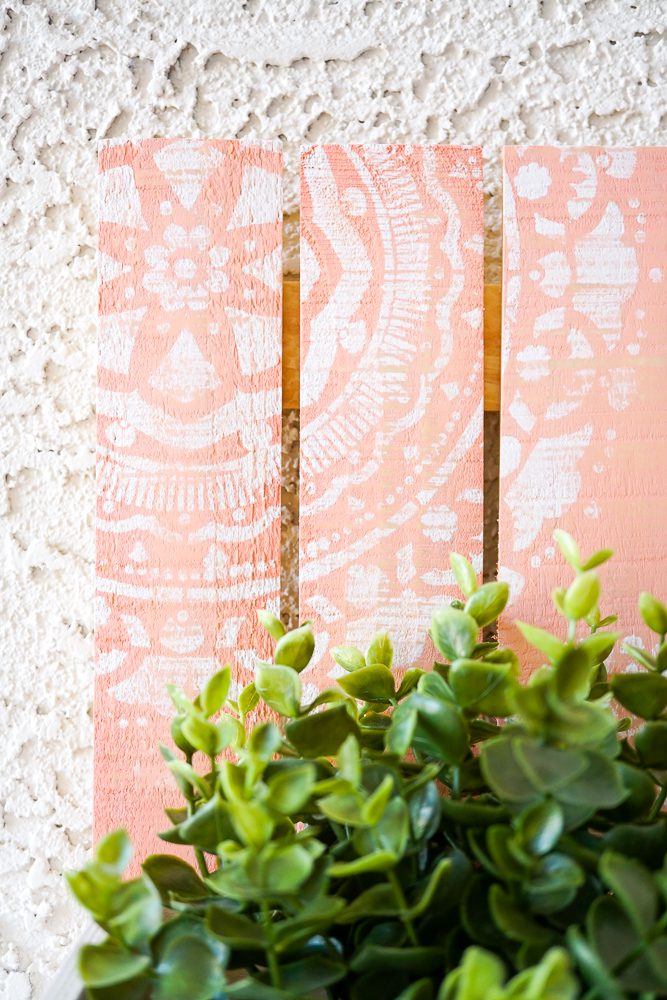
What a fun project to make for someone as a housewarming gift!
