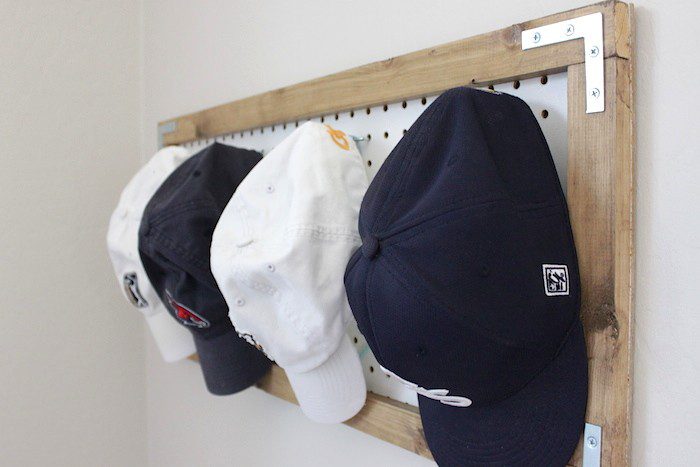
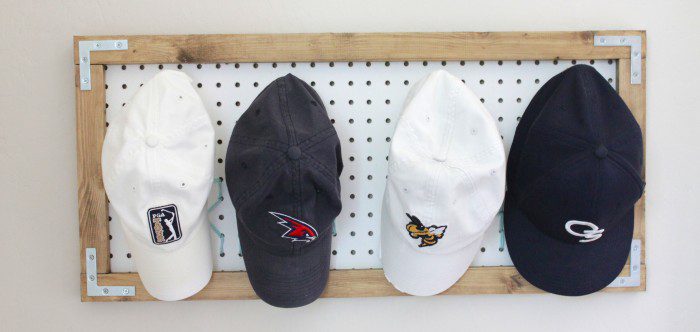
Father’s Day is in days people but don’t worry…we got you!! This project is for any level of DIY-er and can be completed in a snap!! Here is what you are gonna need to make your very own DIY Pegboard Hat Rack:
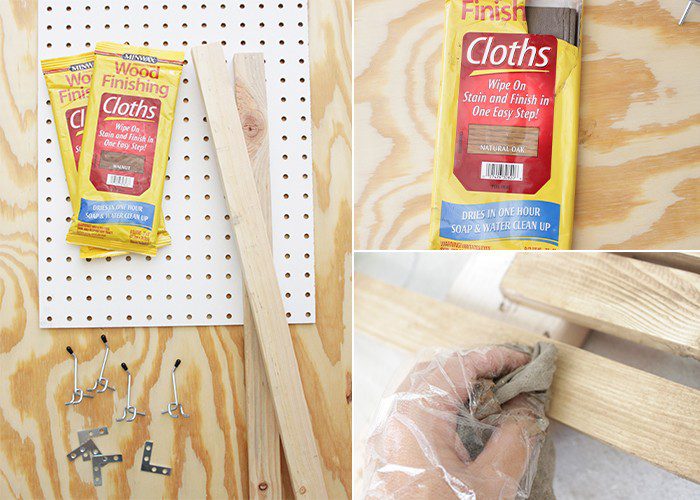
Pegboard from Home Depot (we used a piece that was cut down to 30″ x 14″)
1″ x 2″ boards cut to fit as the frame
Pegboard hooks
Optional: Corner Brackets
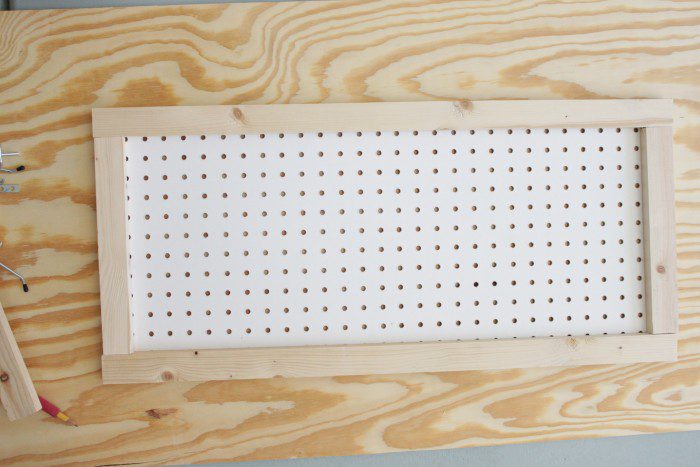
First cut the 1″ x 2″ boards to frame your cut piece of pegboard and dry fit the pieces.
 The next step is a GAME CHANGER…Oh yes, it’s AWESOME TIME!! These Minwax Wood Finishing Cloths are perfect for your DIY projects needing stain. They come with the gloves and you literally wipe it on and you’re done…BOOM! We LOVE the Natural Oak Stain.
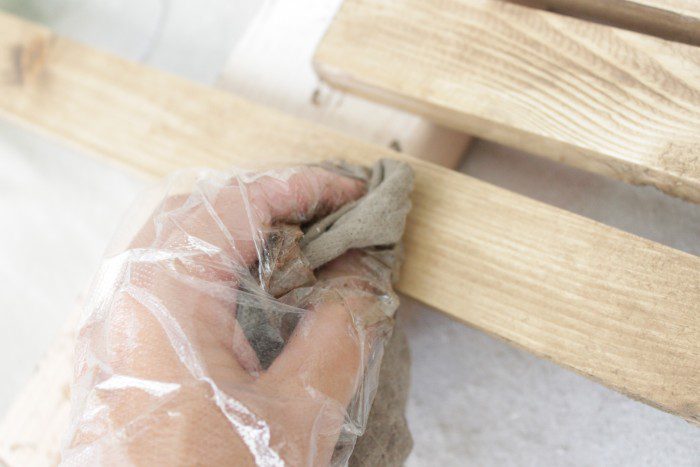 See how pretty?!! Ok, but first let em dry…then we need to attach them to the pegboard, ummmmkay?
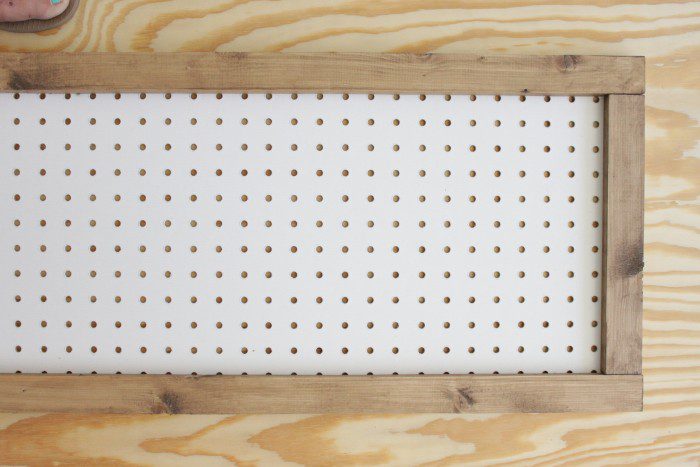 Here is where we get to use our favorite tool everrrrr!! We used 5/8″ nail and attached the 1×2’s from the backside of the pegboard. Ladies and gents…if you don’t have this nail gun, you must!! Pinky swear!!
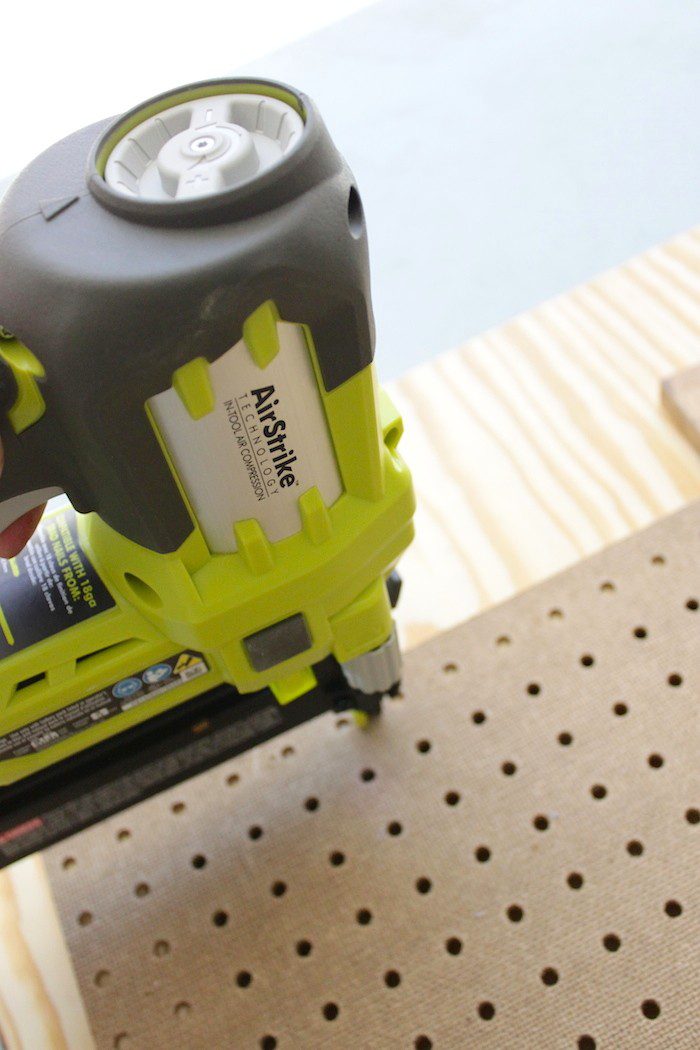 Now that the frame is attached…flip er’ over and pre-drill holes if you are going to use the corner brackets so that you don’t split the wood.
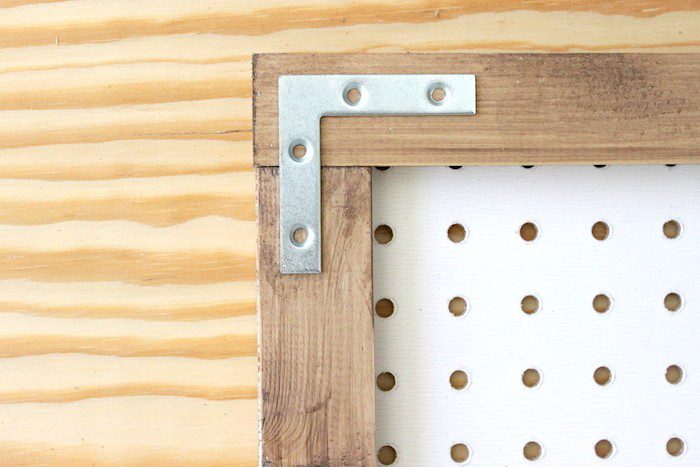
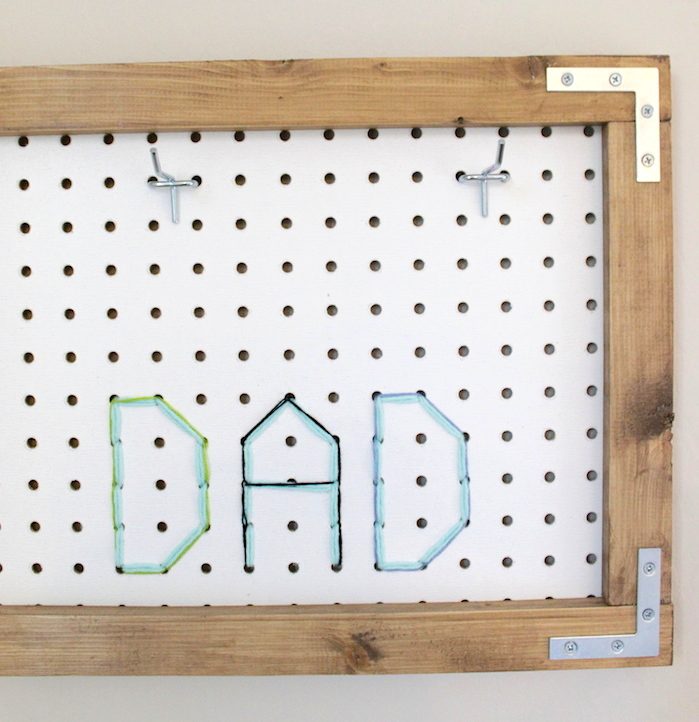
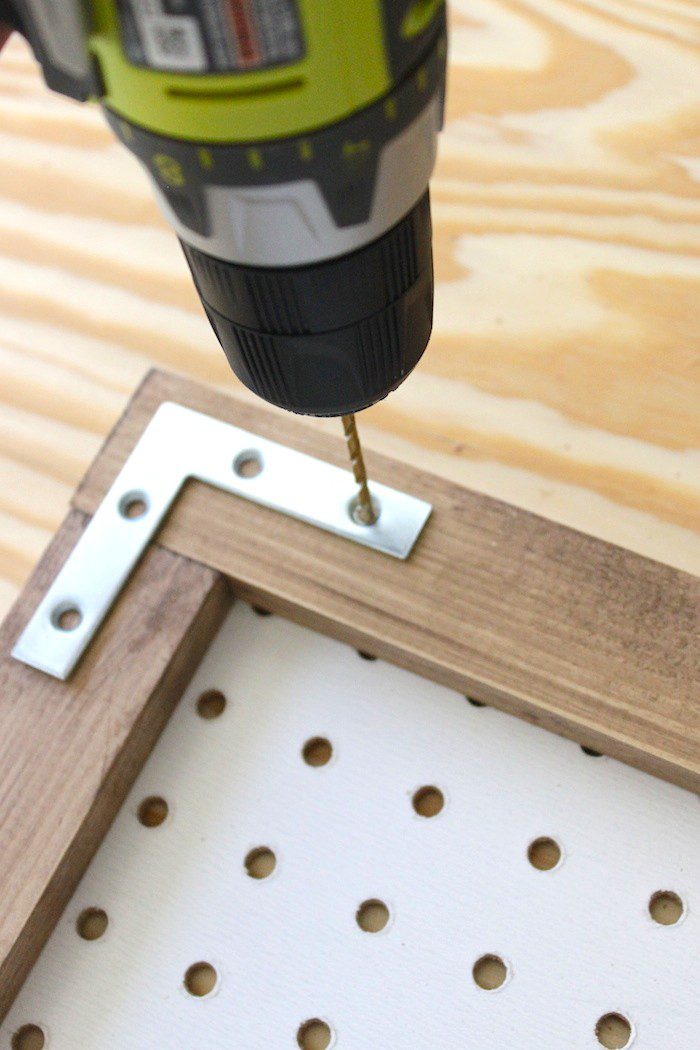 Now that that is done, wait for it…Tah-dah!! Oh, we forgot to tell you that we may or may not have embroidery stitched some yarn to add a cool message for D-A-D!! We know, the yarn is a little light but its all we had…so to pop it out, we added in some colored embroidery thread.
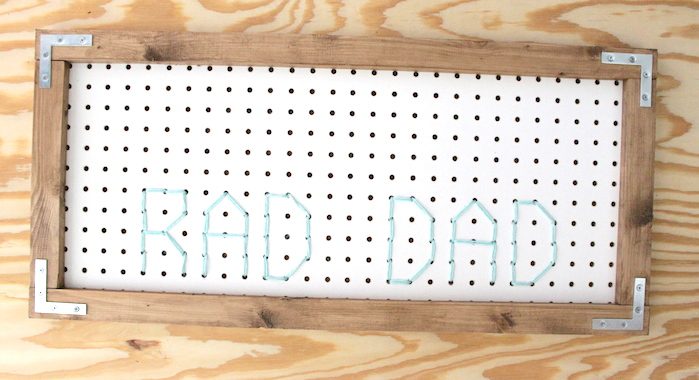 Here it is with the hooks attached…
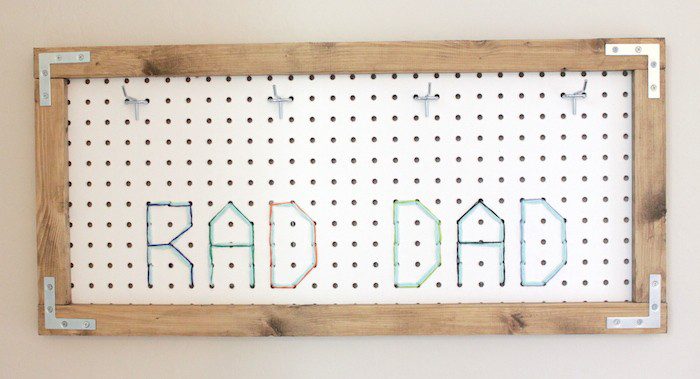
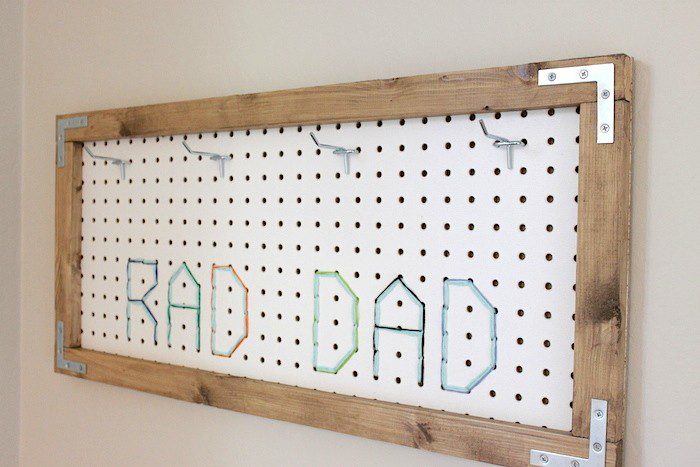
 and then let us show you what this is really used for, HATS!! Keep the all tidy here on your very own DIY Hat Rack! YAY!! Happy Friday, now get to building!!
