We’ve made it to week 4!!! Yassssssssssss! So many things have happened in this space and we are definitely nearing the end. I am at the point of turning the corner and buttoning up all of the major projects in this challenge. Let’s take a look at my updated to-do list…
minor demo | remove builder shelforder wallpaper|install wallpaperorder and assemble cabinetsorder lightingorder rugscut & fit countertopsinstall shiplappaint shiplap- build barn boor
build washer|dryer surroundinstall sink& faucet- trim out window with casing & sill
install lighting- install wall shelves
- accessorize
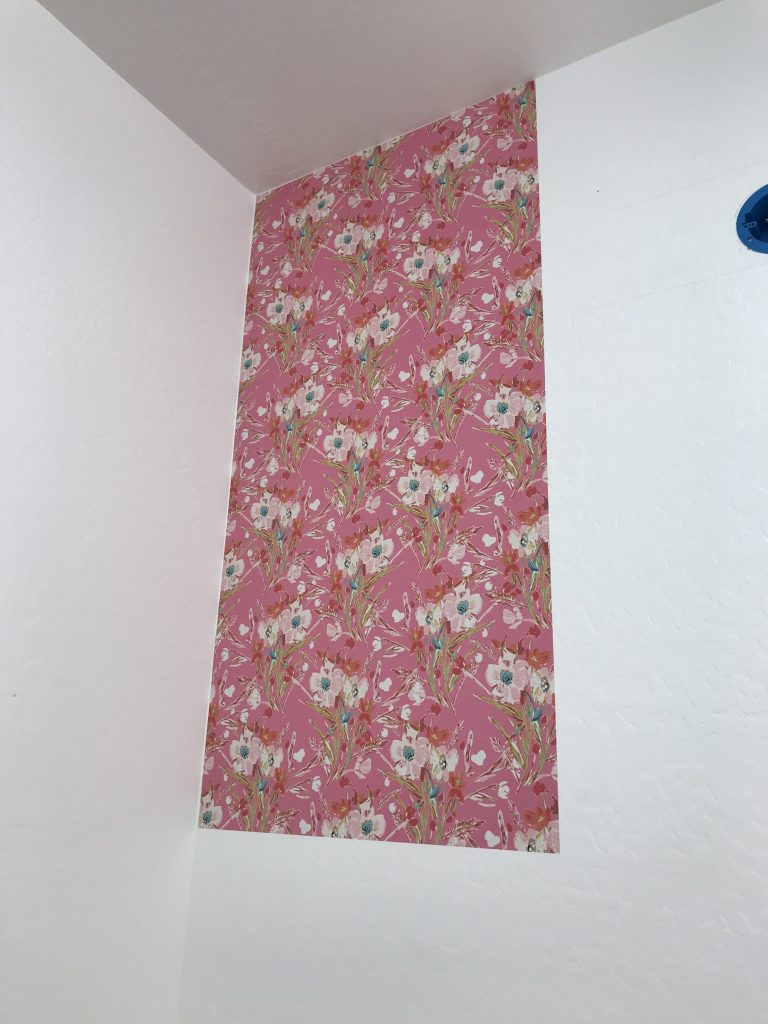
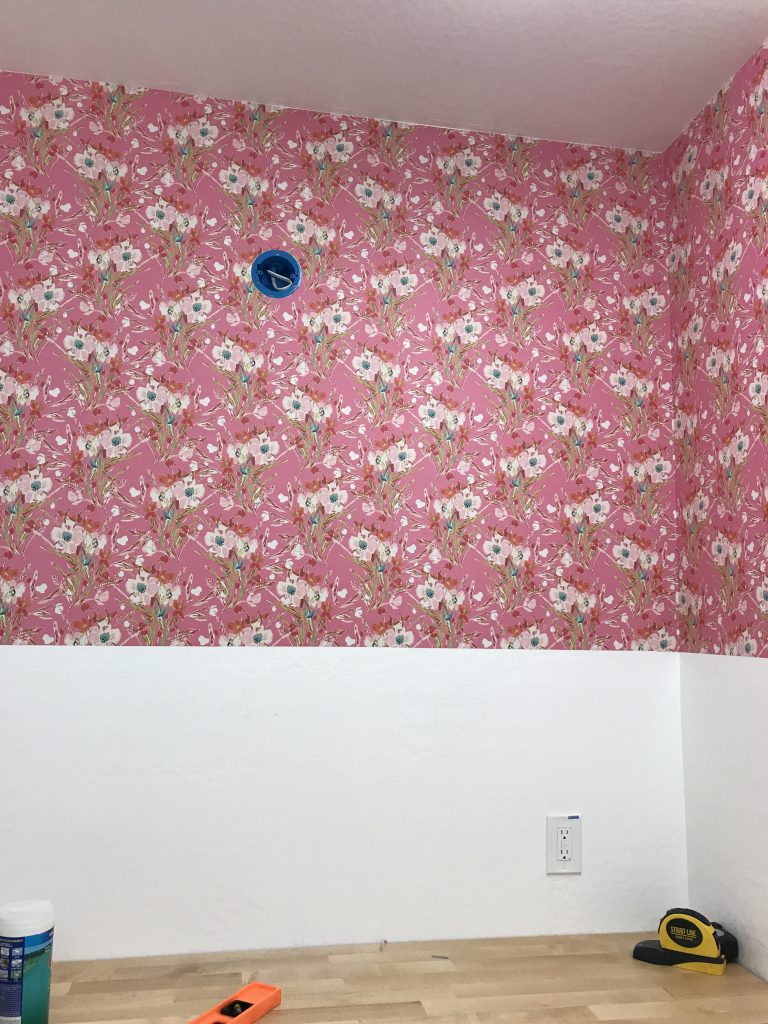
This was a BIG week! So many things got crossed off the list! Starting with the wallpaper! This wallpaper from Wallternatives designed by my friend Bari J is just what this space needed! Remember I said that I wanted to “enjoy” doing laundry? Well this bright, cheery paper is exactly what I wanted and needed to dress up these walls. I will do a full tutortial dedicated to putting up the wallpaper, but for now let’s take a peek at all of the progress!
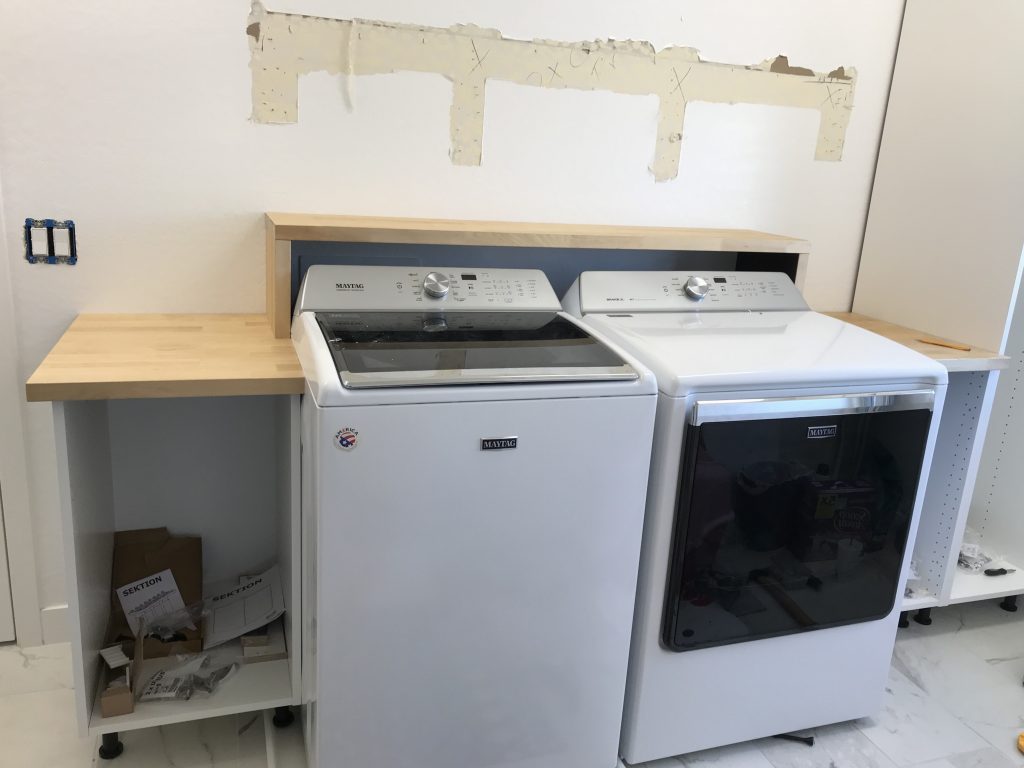
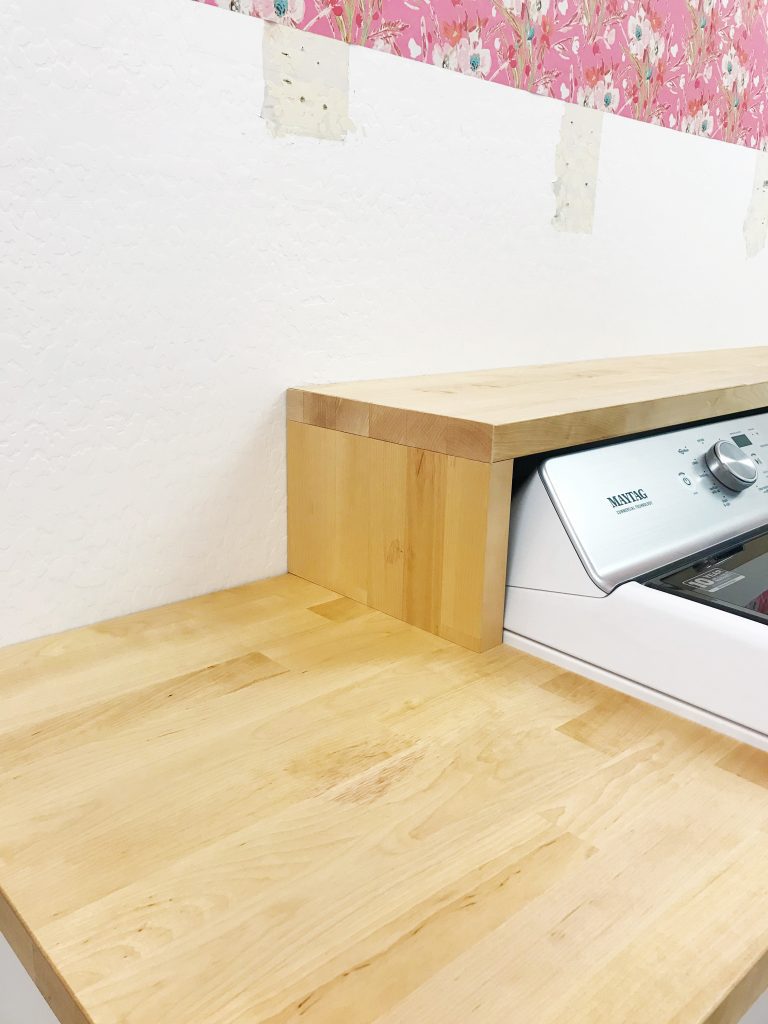
The next thing I completed was the “bridge” that sits over the washer and dryer that serves 2 functions…first one is to hide the plumbing and cutouts and the second is to act as a low shelf to store detergent. Here is what it looked like as I laid it out. I used extra countertops to create this piece. I cut it the width of the washer & dryer and approximately 12″ deep and tall enough to clear the control panel. Once I had the sides secured to the top with pocket holes, I used some veneer edging to finish of the exposed ends.
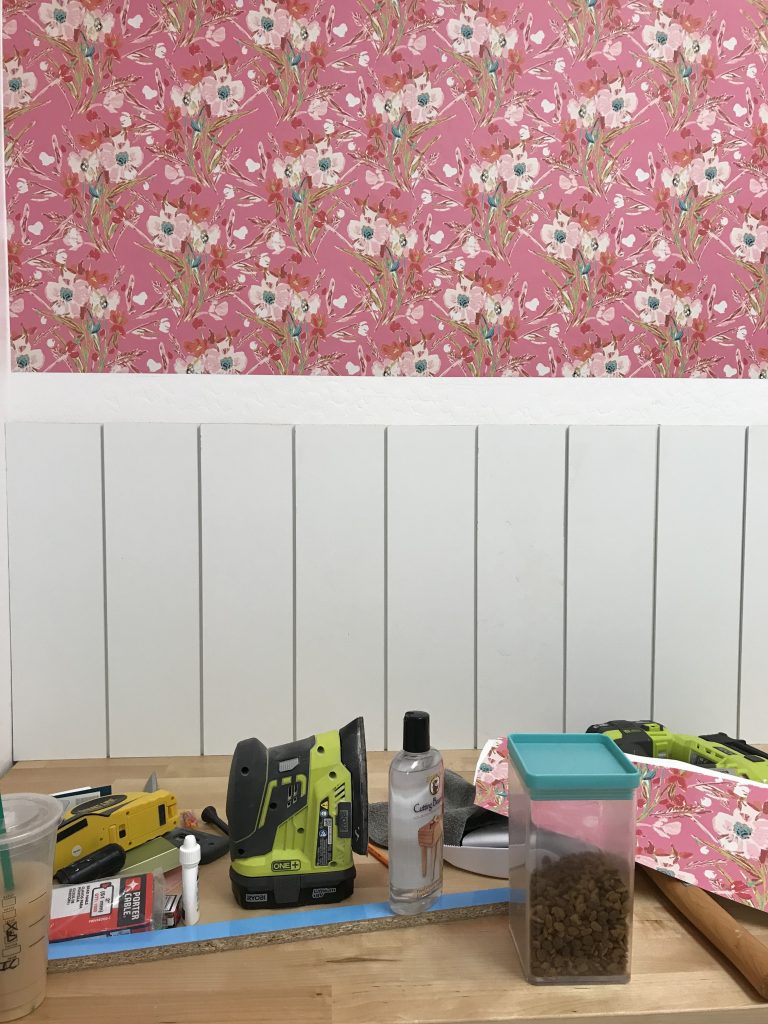
Next, I moved onto shiplap…I did a quick dry-fit to make sure I had my measurements correct and then went to paint.
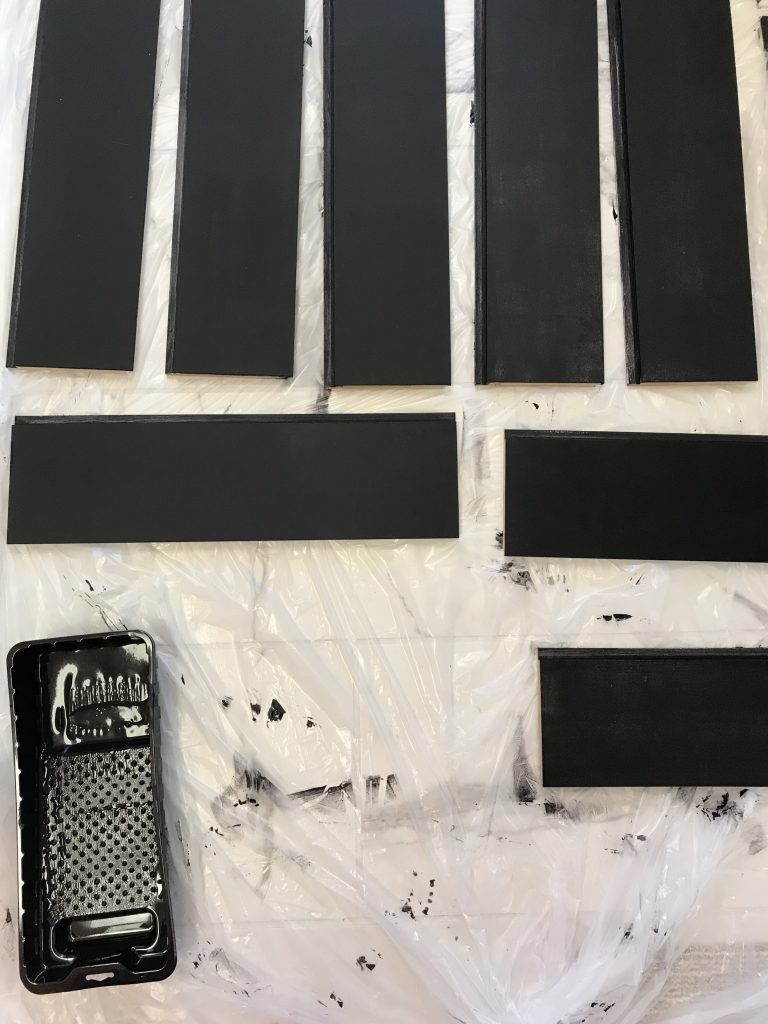
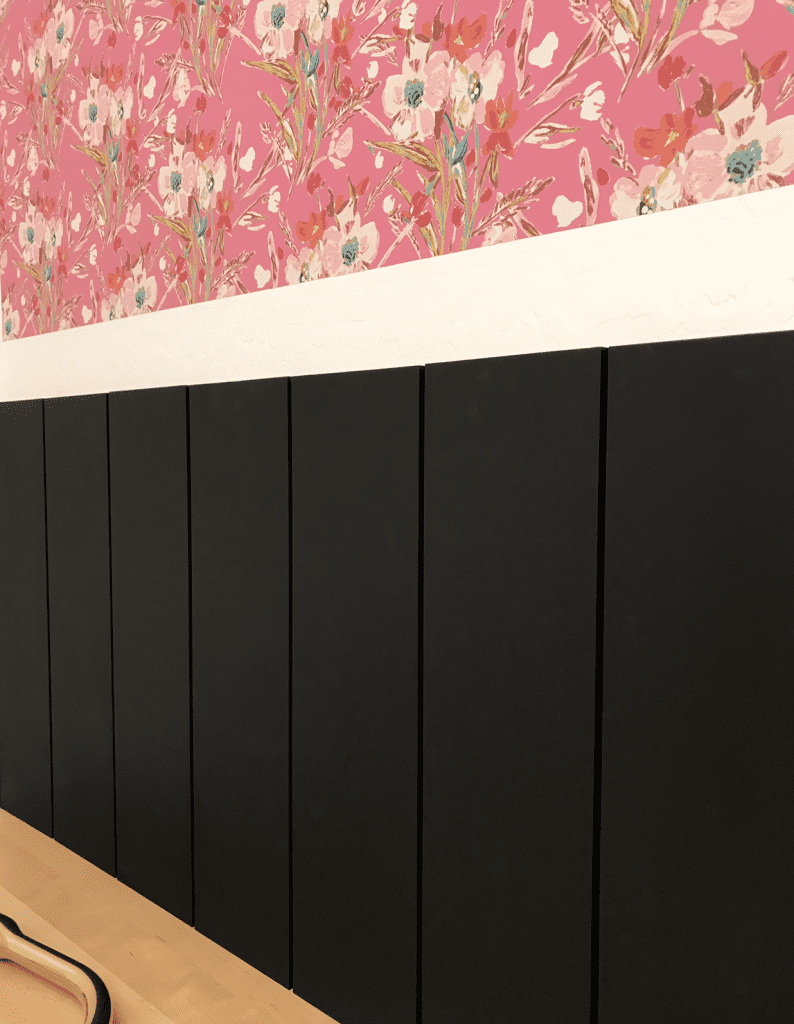
I painted all of the pieces first, it saved a lot of time… then I only need to do touch ups once it was all up.
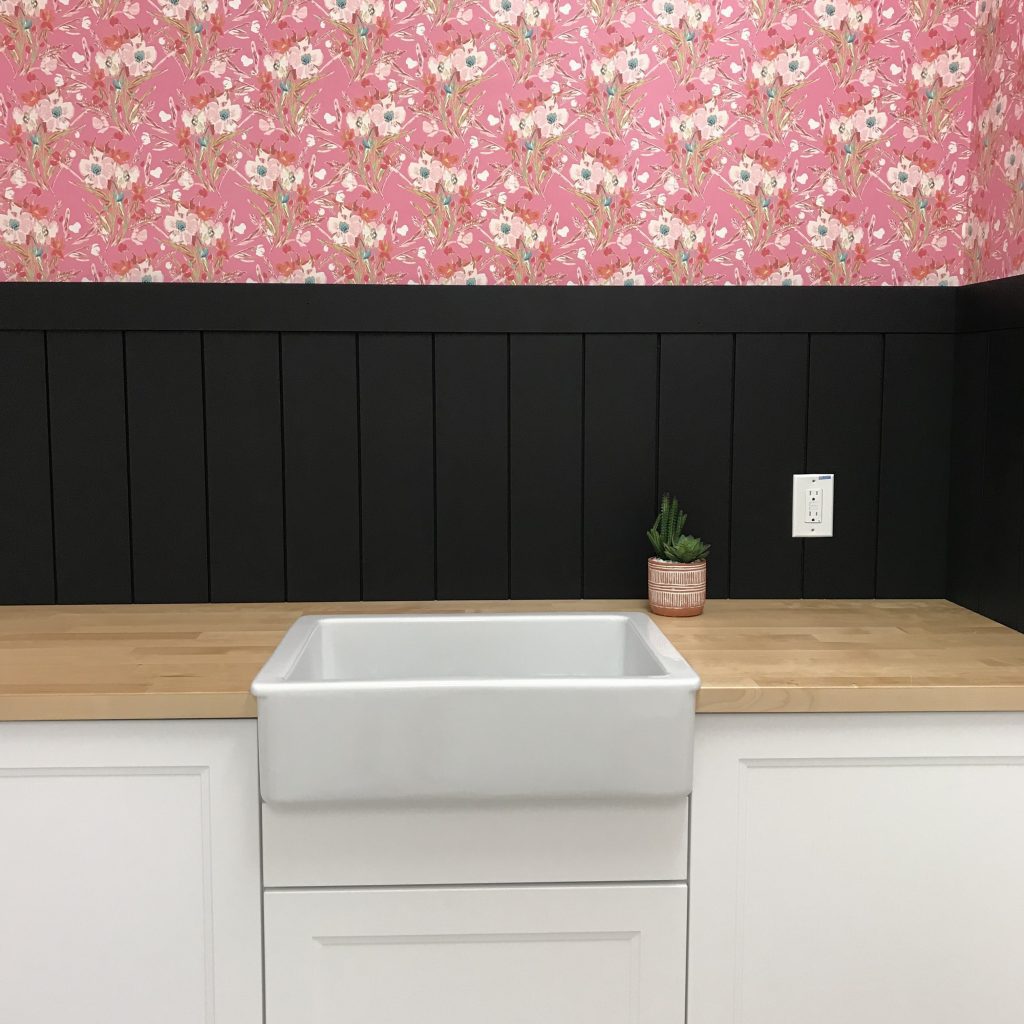
One of the last things I had to complete this week was to cut the countertop and set the sink. I haven’s had a lot of practice with setting sinks but with my trusty jig saw and measurements, I was able to cut the butcher block and slide the sink into place! Can I get an amen????!!! It FIT!!! So on that note…you can see it was a VERY busy week and quite a bit was completed! Can wait to check in for WEEK 5, see you soon!