This post is sponsored by JOANN…all thoughts and opinions are my own.
Cooler temps means Fall is on the way and it is time to change up some decor. I love to change up some of my accessories as the seasons change and the item that I feel makes some of the biggest impact are decorative pillows. So today I am so excited to show you how to make your own DIY FALL Decorative Pillows. I went to my local JOANN store…found fabric, trim and the pillow forms and in a few hours I had a whole new set of cute pillows to dress up my sofa!
You’re going to need the following to complete this project:
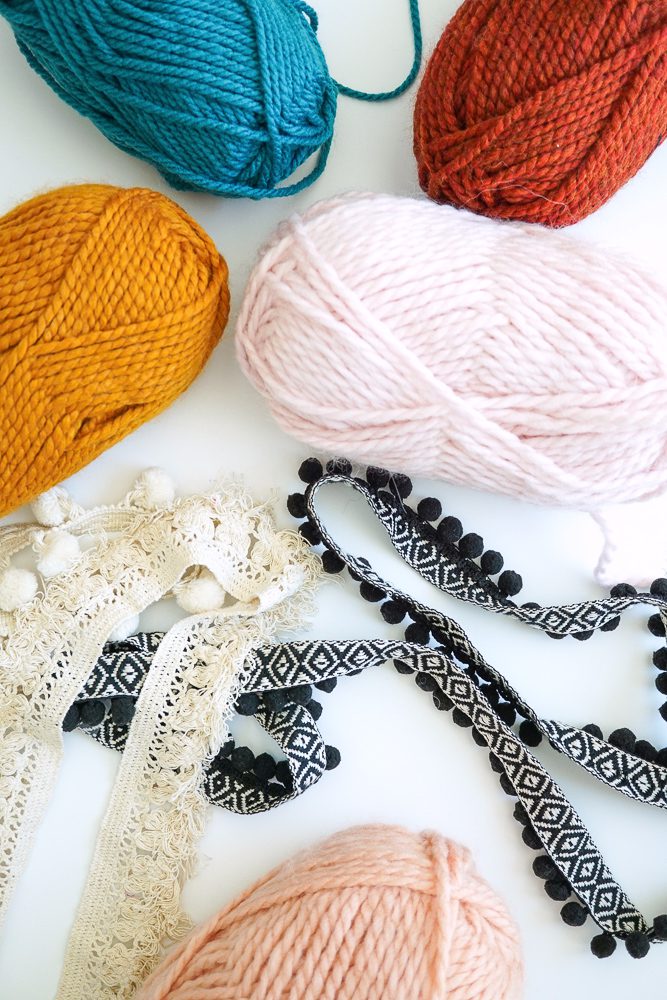
Fabric
Variety of Trim – Pom Trim
Cotton Duck Canvas Fabric – I like to use this utility fabric to make & back pillows
Decorative Fabric – pick fabrics that match your home
Yarn – I picked colors that would match my decor but felt more “Fall”
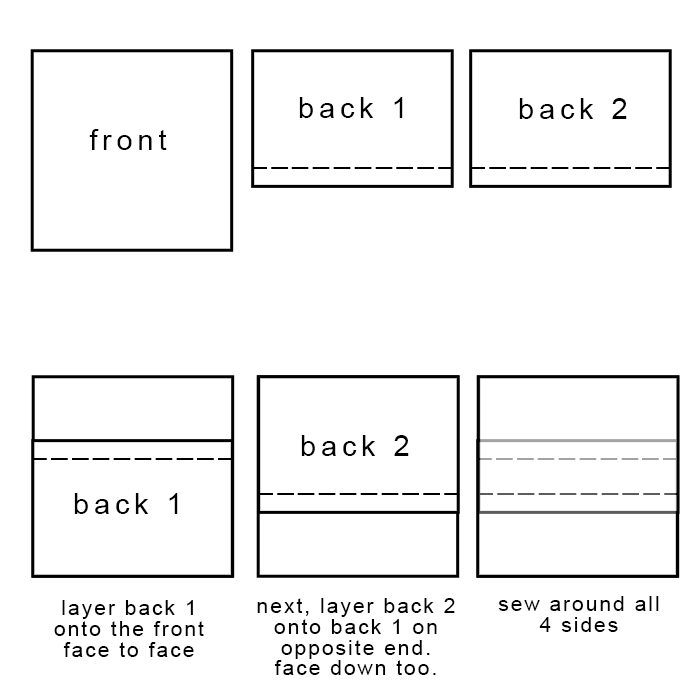
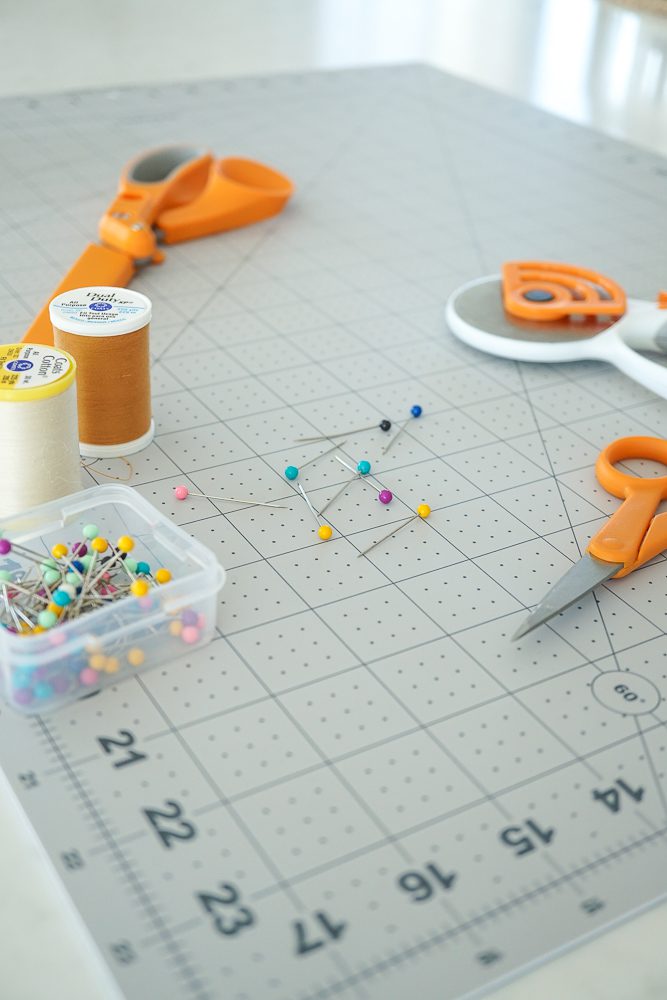
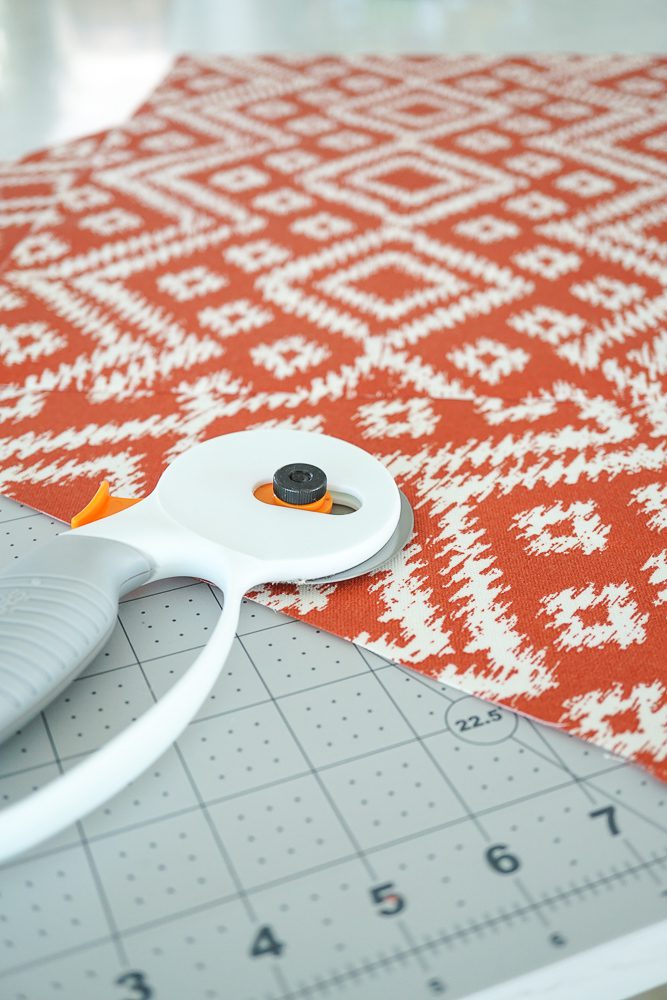
Ready to get started??? I use a simple envelope closure style pillow cover especially for the beginner sewer. Here are the basic steps to sewing an envelope pillow. Since I was using 18″ square pillows…the front piece was 19″ square, back 1 & back 2 were each 19″ x 12. I found that a rotary cutter is the best for cutting fabric.
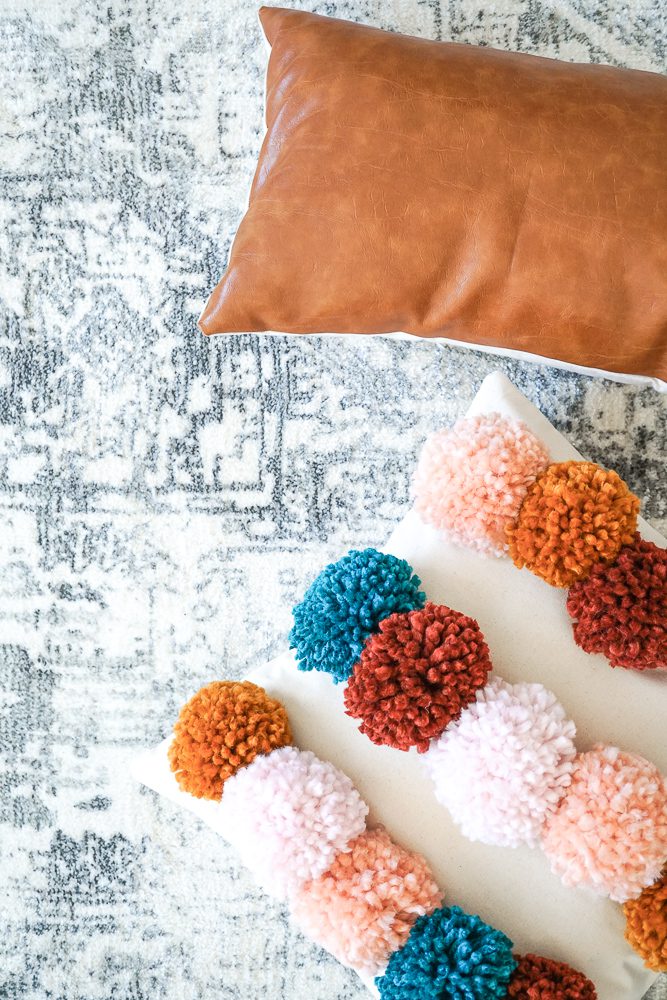
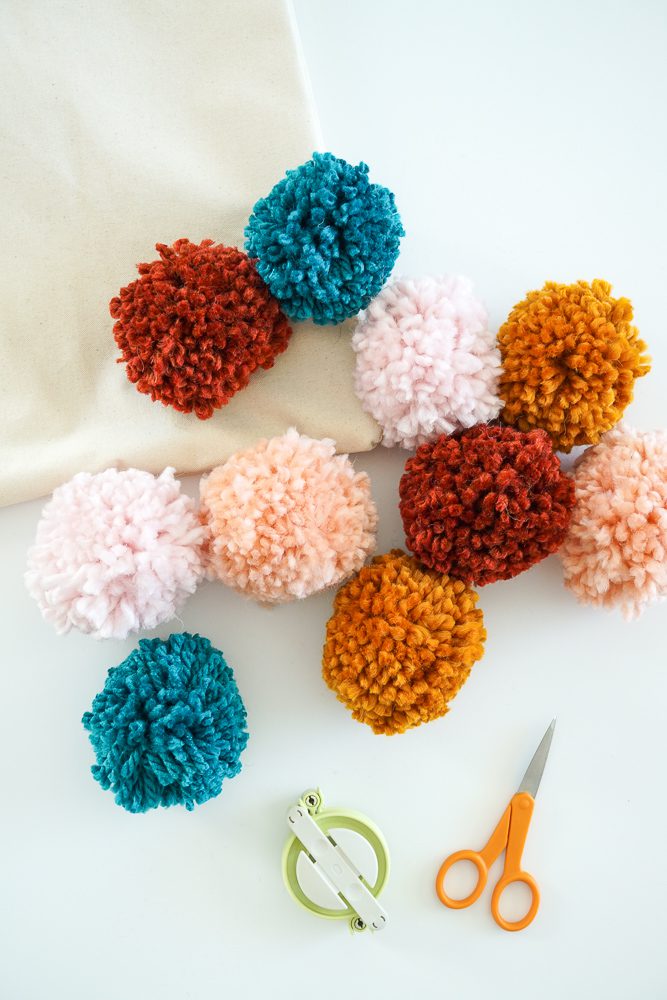
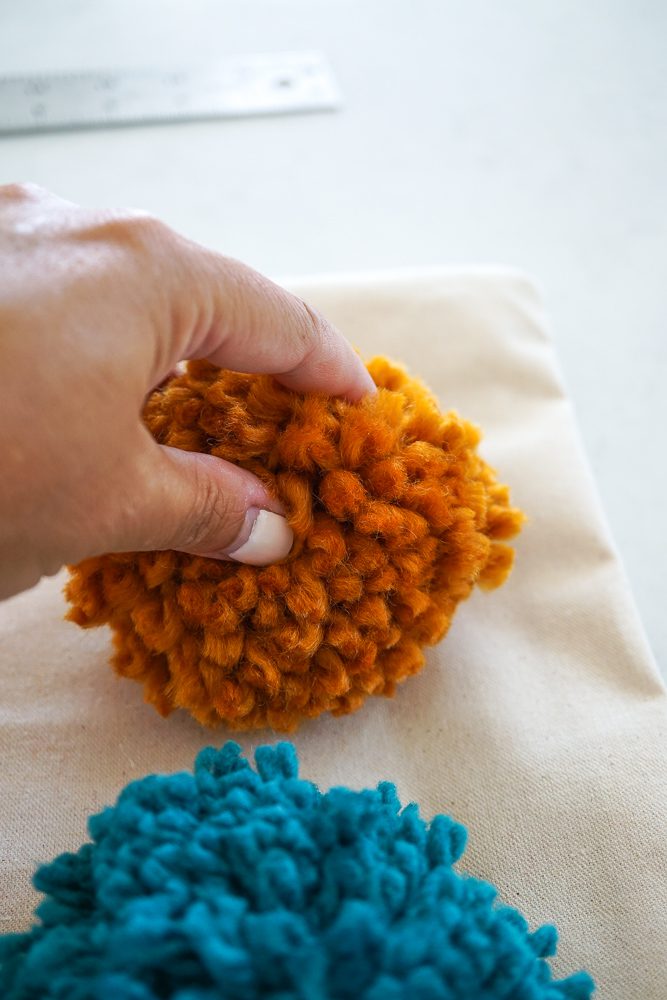
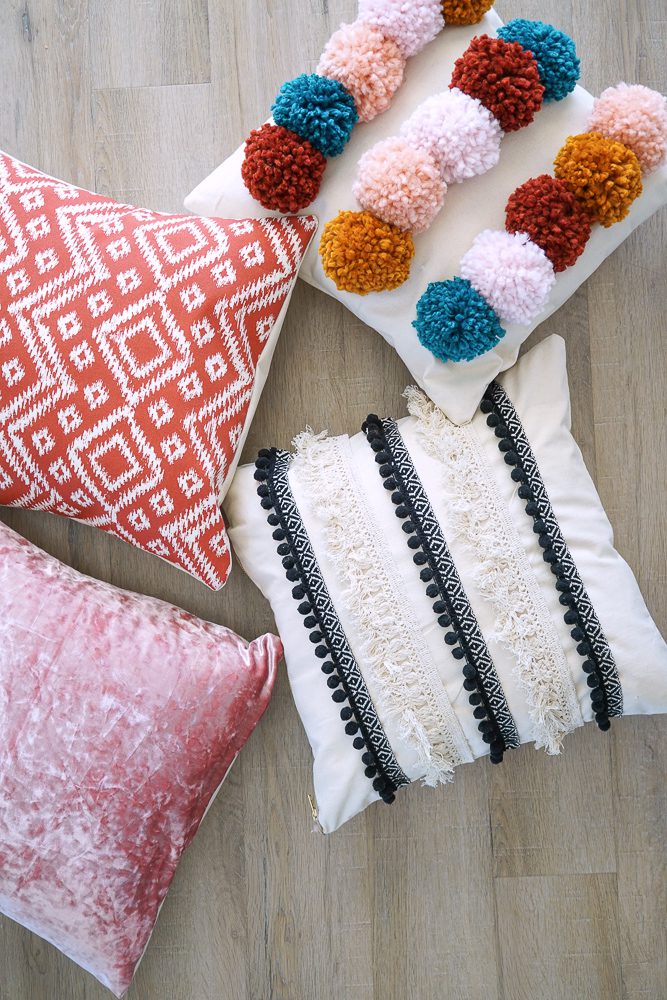
Once you have your pillows sewn…it’s time to dress them up!! I made a bunch of yarn poms with my Pom Pom Maker to attach to the front of a pillow with hot glue.
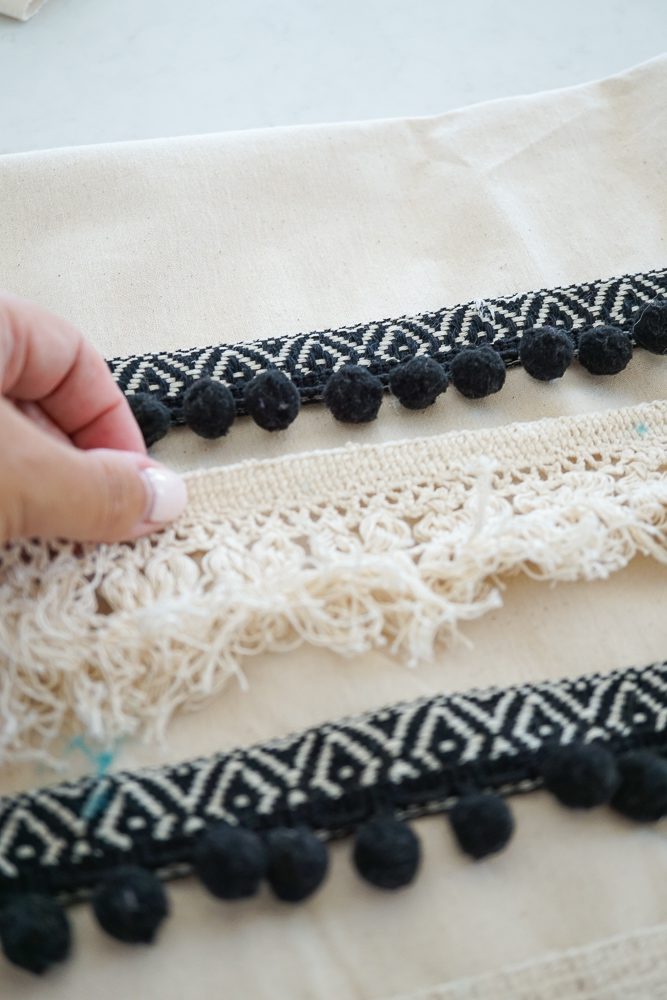
The next pillow I added rows of alternating trim and attached it with hot glue also.
The other two pillows didn’t have trim but I did pick out fabrics that had more interest and texture. Here is what the looked like finished…I am in LOVE!!!! I love all of the texture and warm, rich colors! I think the pom pom pillow is my favorite.
Ready to see how these look in my space?
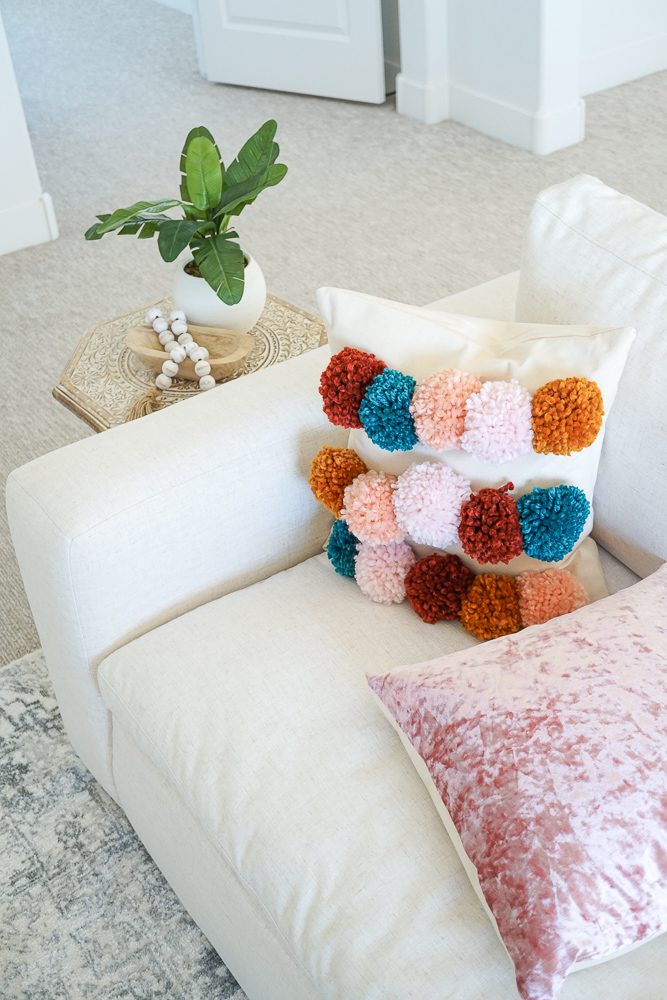
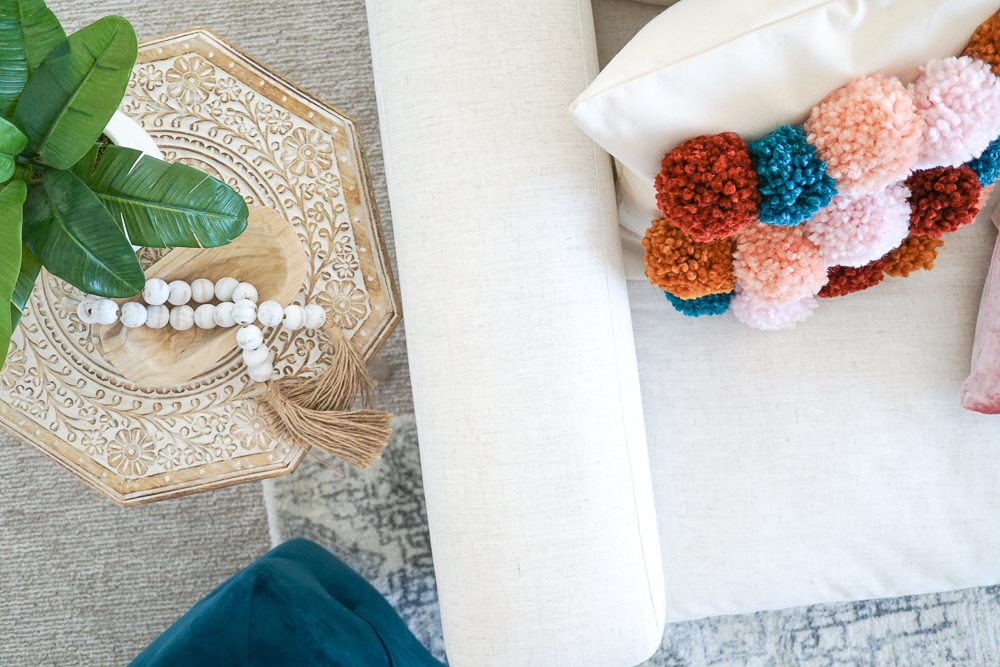
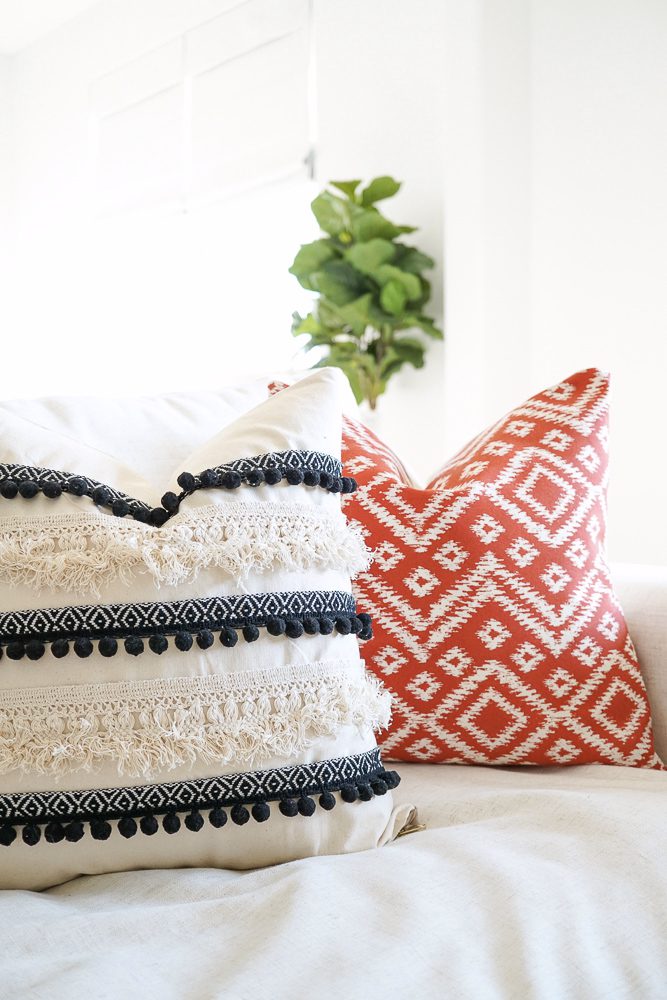
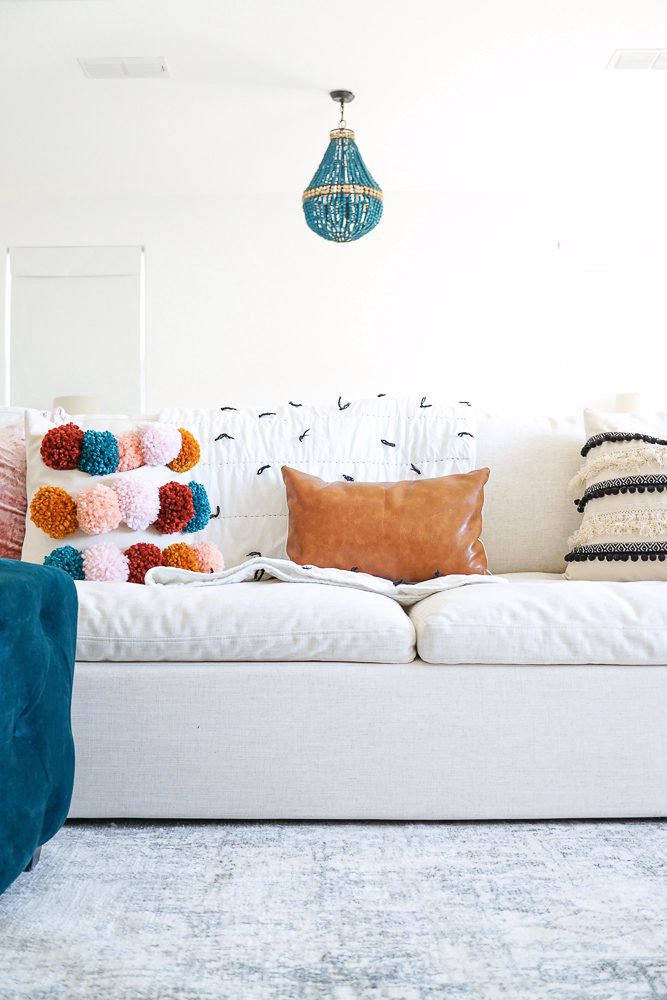
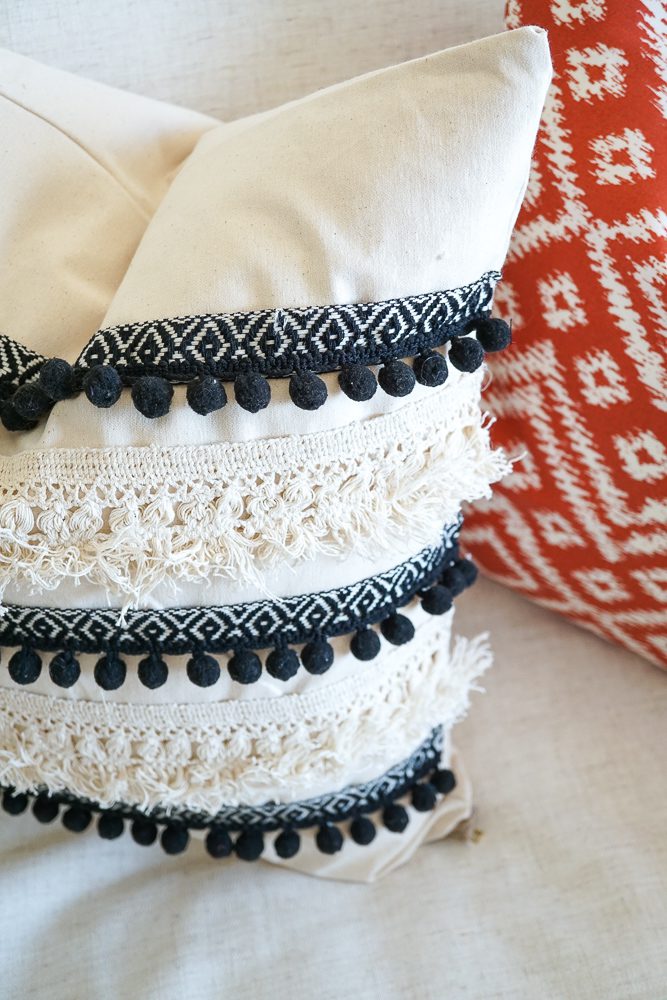
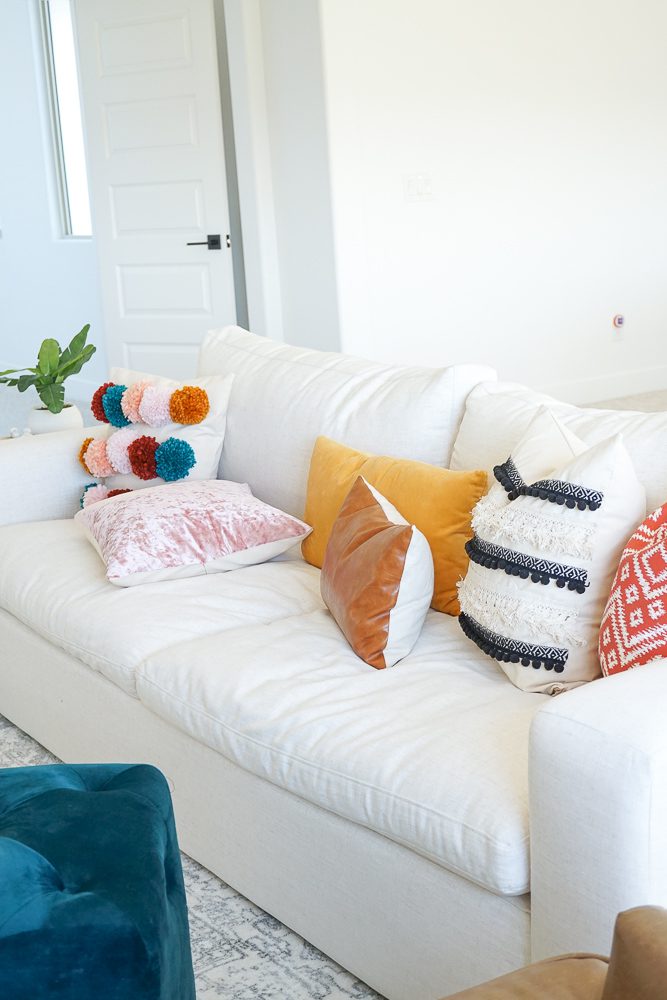
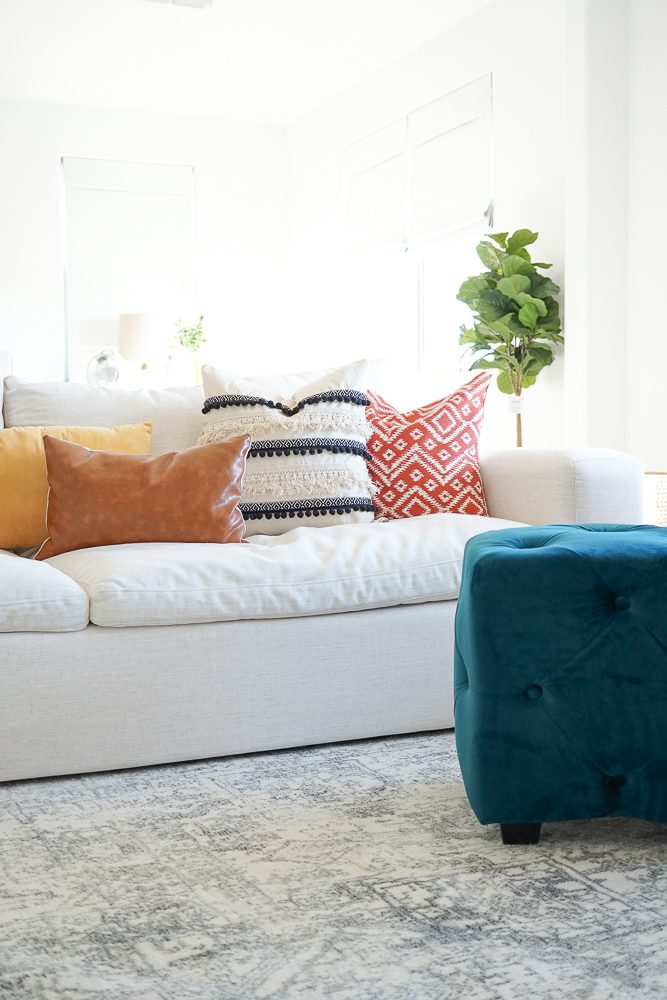
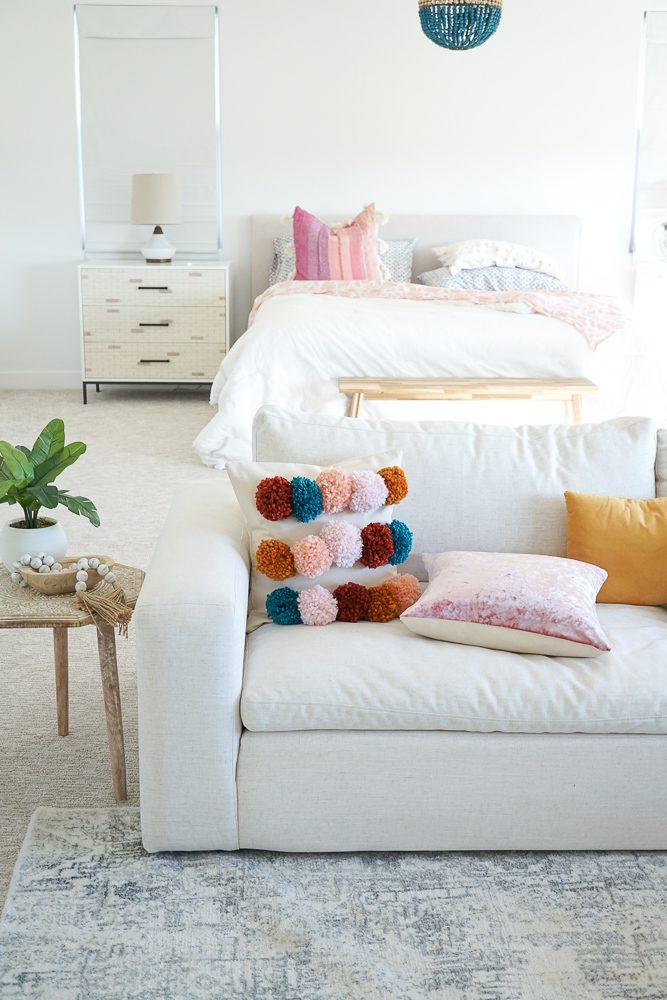
I feel like adding these pillows was just what the living space in our bedroom needed. I love the warm pop of colors against the neutral background and the visual texture. Ready to DIY some Fall pillows to rotate into your decor? Make sure you share you DIY’s by tagging @rebeccaDIY and Joann Fabric and Craft Stores on instagram! Happy sewing!
